I recently migrated to Linode for my personal portfolio and project (proof of concept) websites. I am running Ubuntu Server 20.04 LTS on a 1GB Nanode. Most of my websites use WordPress and I use Nginx, MariaDB, PHP (LEMP) as my stack. I use a Multisite Network since it let’s me manage all my websites from a single dashboard.
Initially, I was using a single site, so I used Certbot to install a Let’s Encrypt SSL Certificate. If you plan to host only one site on your server then you should be good to go with a single Certbot command; however, if you’ve, or plan, to run more than one site on your server, the process is different. Let’s learn how we can install wildcard SSL certificates on Linode.
Generating a Token
To let Certbot manage your DNS Records, we first need to generate an API token or Personal Access Token (PAT). To generate an API token:
- Log in to your Linode account
- Click on your Profile & Account settings
- Choose API Tokens
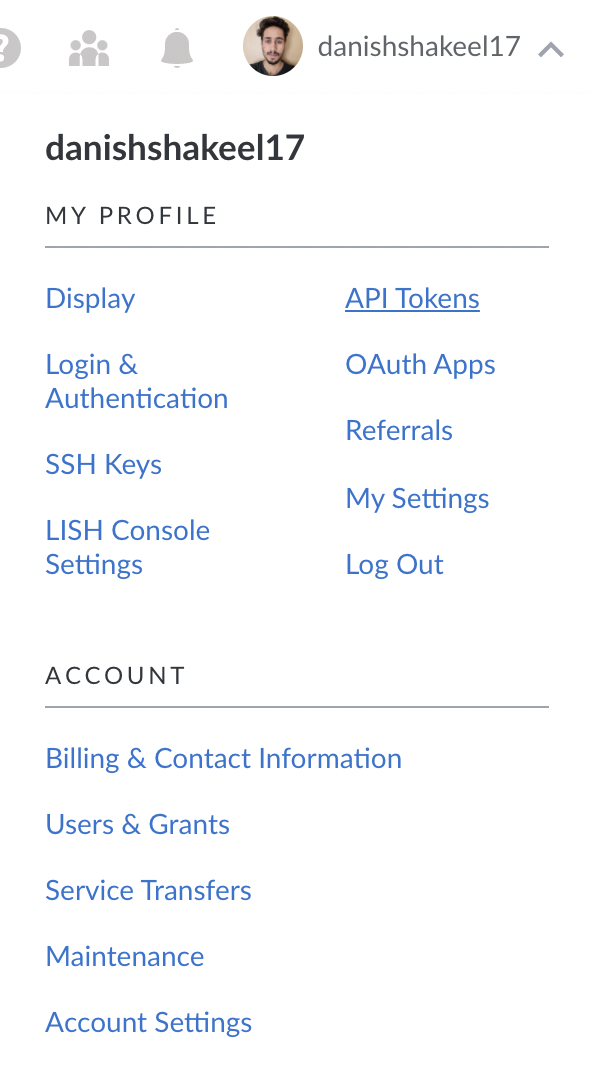
Once you’re in, click on ‘Create a Personal Access Token’ option.
Create a new token that can read/write your Domain Records. Since you’ll most likely be using this token just for Certbot, you can disable all the other privileges.
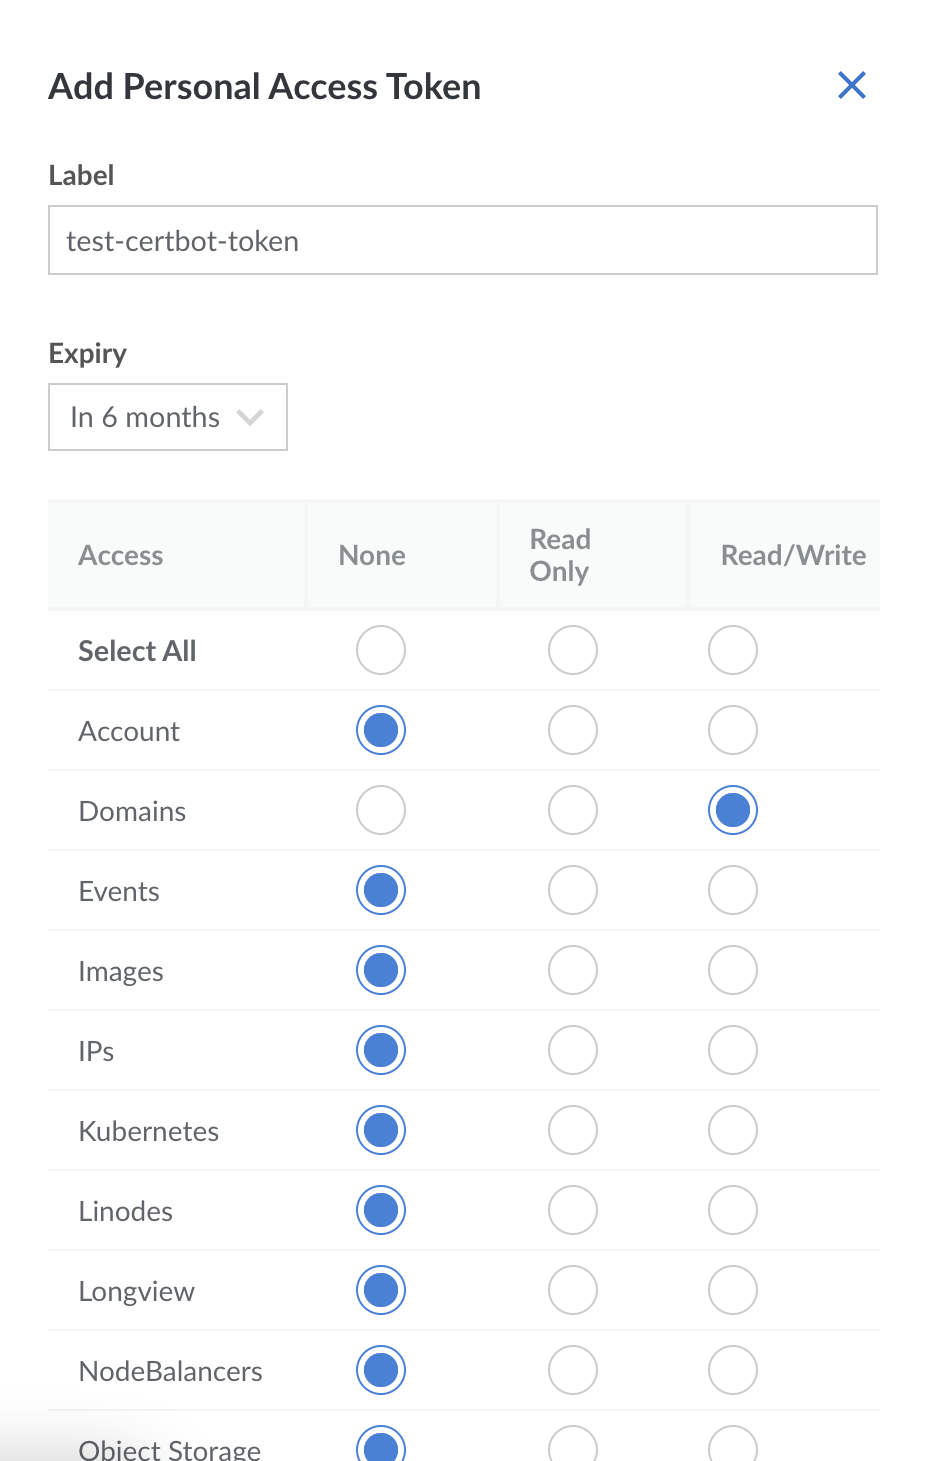
Click on ‘Create Token’, copy the generated token and save it somewhere safe. The tokens cannot be viewed again, so if you lose it, you’ll have to regenerate it.
Now, create an .ini file to store your token. Your .ini file should look like this:
# Linode API Credentials .ini file
dns_linode_key = <YOUR_API_KEY>
dns_linode_version = 4
Installing Certbot
Certbot is a free, open source software tool for automatically using Let’s Encrypt certificates on manually-administrated websites to enable HTTPS. We’ll use certbot package and python3-certbot-dns-linode plugin.
Now, we can install the Certbot.
sudo apt install certbot python3-certbot-dns-linodeGenerating Certificate
We’ll not use Certbot’s automatic Nginx configuration, we’ll use Certbot to generate a certificate and then manually edit our Nginx files.
To generate a certificate:
certbot certonly --dns-linode --dns-linode-propagation-seconds <TIME_IN_SEC> -d <YOUR_DOMAIN> -d "*.<YOUR_DOMAIN>"For my website, the command will look like this:
certbot certonly --dns-linode --dns-linode-propagation-seconds 180 -d danishshakeel.me -d "*.danishshakeel.me"We are using ‘*’ to let Certbot know that all the subdomains, such as blog.danishshakeel.me, hire.danishshakeel.me, or www.danishshakeel.me should be able to use the certificate. –dns-linode-propagation-seconds is the time (in seconds) for which we wait for the changes to propagate to the server before asking the ACME servers to verify.
Certbot will ask you to input the path of the .ini file which we created.
Input the path to your Linode credentials INI file (Enter 'c' to cancel): <PATH_TO_INI_FILE>
Waiting 180 seconds for DNS changes to propagate
Waiting for verification...
Cleaning up challenges
Congratulations, we have successfully generated our certificate and chain. Note down the path to the fullchain.pem and privkey.pem.
Configuring Nginx
Now, we can configure Nginx to use our certificate.
options-ssl-nginx.conf
Before we can edit our Nginx configurations, we need to ensure that options-ssl-nginx.conf exists in /etc/letsencrypt directory. In case it does not, we can simply create one and copy-paste this content into it.
# This file contains important security parameters. If you modify this file
# manually, Certbot will be unable to automatically provide future security
# updates. Instead, Certbot will print and log an error message with a path to
# the up-to-date file that you will need to refer to when manually updating
# this file.

ssl_session_cache shared:le_nginx_SSL:10m;
ssl_session_timeout 1440m;
ssl_session_tickets off;

ssl_protocols TLSv1.2 TLSv1.3;
ssl_prefer_server_ciphers off;

ssl_ciphers "ECDHE-ECDSA-AES128-GCM-SHA256:ECDHE-RSA-AES128-GCM-SHA256:ECDHE-ECDSA-AES256-GCM-SHA384:ECDHE-RSA-AES256-GCM-SHA384:ECDHE-ECDSA-CHACHA20-POLY1305:ECDHE-RSA-CHACHA20-POLY1305:DHE-RSA-AES128-GCM-SHA256:DHE-RSA-AES256-GCM-SHA384";
Configuring Nginx Server
Now, let’s cd into our Nginx sites-available directory
cd /etc/nginx/sites-availableNow, we need to open our configuration file. I am using the default server block as my configuration.
sudo vi /etc/nginx/sites-available/defaultInside the server block, we need to add a few lines:
server {
...

listen [::]:443 ssl ipv6only=on;
listen 443 ssl;
ssl_certificate <FULLCHAIN_PEM_PATH>;
ssl_certificate_key <PRIVKEY_PEM_PATH>;
include /etc/letsencrypt/options-ssl-nginx.conf;
}
Voila! You have successfully configured Let’s Encrypt Wildcard SSL Certificate on Nginx using Certbot.
Footnotes:
The process is similar for other providers, provided the provider is supported by Certbot. Here is the list of supported providers.
Leave a Reply