DatoCMS is a relative newcomer in the CMS industry. There are plenty of Content Management Systems (CMS). A CMS is a powerful piece of software that helps users to create, manage, and modify content on a website without requiring special technical expertise and without the need to code. WordPress is the most popular CMS with over 43% of the market share. Some other examples of CMS are Drupal, Joomla.
DatoCMS rolled out for public use in 2019, is a cloud-based headless CMS for mobile apps, static websites, and server-side applications. The concept of headless CMS is relatively newer. It was born out of the modern need to serve content across multiple channels, like web apps, mobile apps, IoT devices, and wearable software. A headless CMS attempts to reduce the modules attached to the software since there is no presentation layer attached; the developer has the flexibility of serving the content across a wide range of channels.
Why DatoCMS?
DatoCMS is API-first. Every software powered by DatoCMS makes use of two APIs to work with the content – Content Delivery API, and Content Management API. To perform operations on the content programmatically, we make use of the Content Management API. To retrieve the content for displaying purposes, we make use of the Content Delivery API.
DatoCMS generates a static website, that results in a faster and more secure website. It fits in very well with frameworks, technologies and generators like React, Next.js, Jekyll, Nuxt, Vue, PHP, Middleman, and Ruby on Rails. It is flexible, offers granular permissions, and comes with a GraphQL API.
DatoCMS does not build and deploy your website, but delegates it to an external CI/CD services. DatoCMS offers integration with the following services out of the box:
To read more about the general concepts of DatoCMS, please refer the official docs.
Creating a DatoCMS Account & Starting a New Project
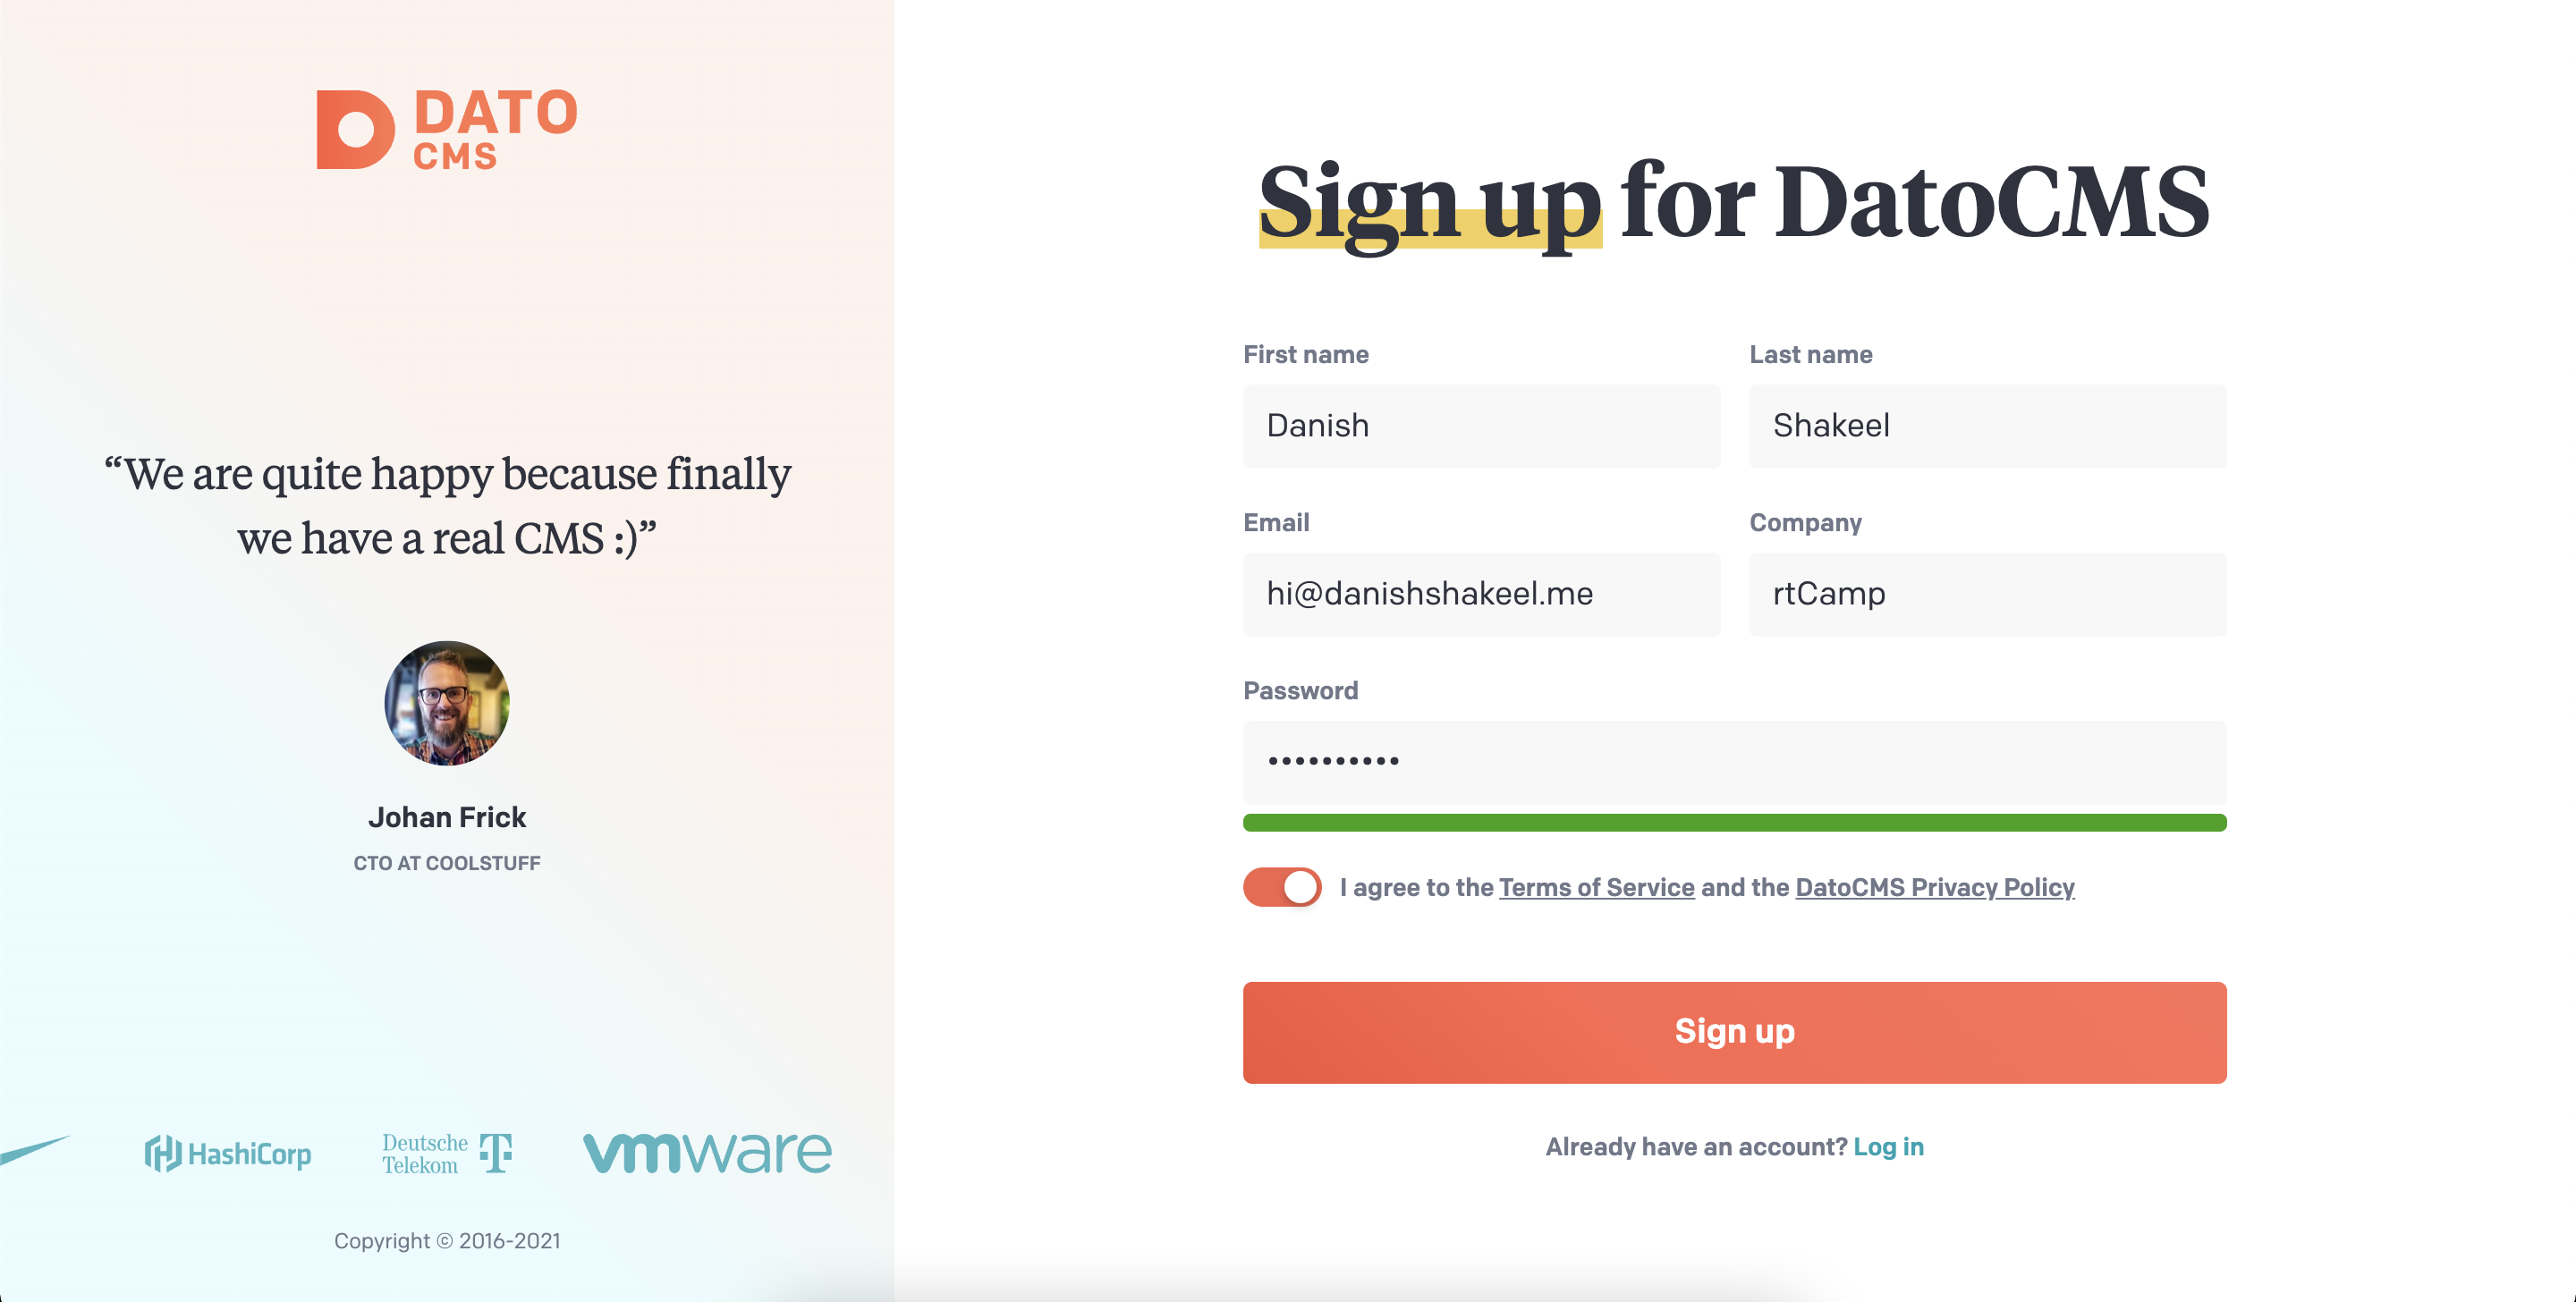
Well, signing up for any service should be a piece of cake, really! Just head to https://dashboard.datocms.com/signup and you know the drill!
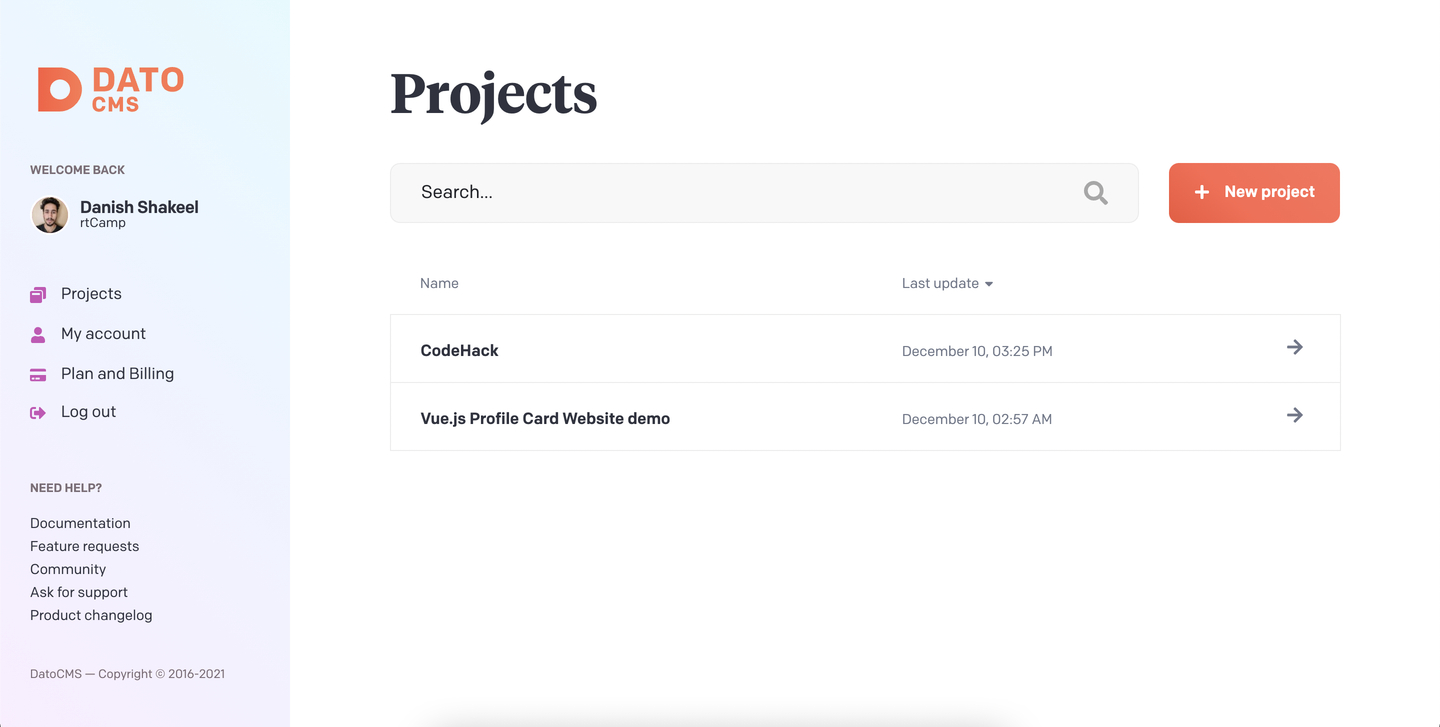
Once you sign up, you will be guided to the dashboard. DatoCMS is free for upto 3 projects and that should suit our use-case. DatoCMS Dashboard is easy to navigate, considering that the target audience is non-technical clients. We will start by hitting the ‘New Project’ button.
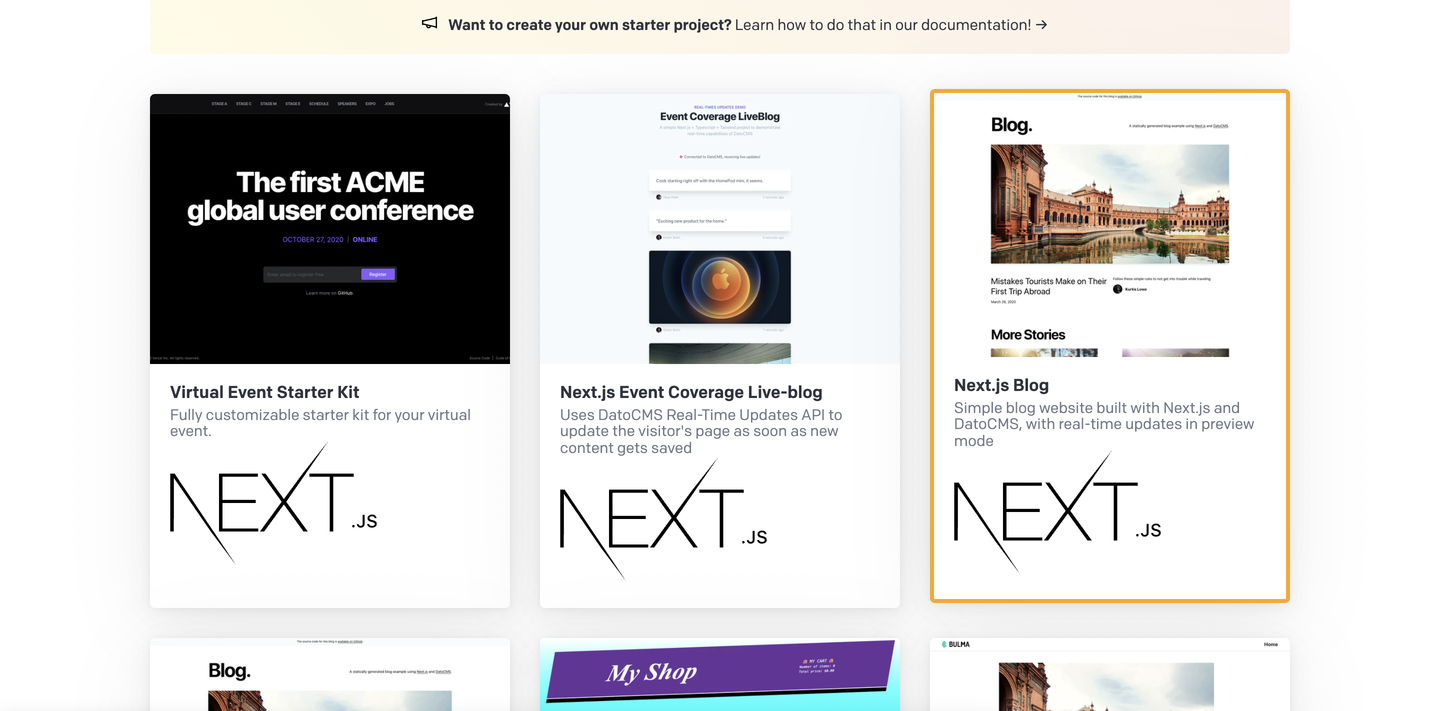
Click on ‘Demo project’ and you will be lead to the page of starter projects. We will be using Next.js Blog starter project.
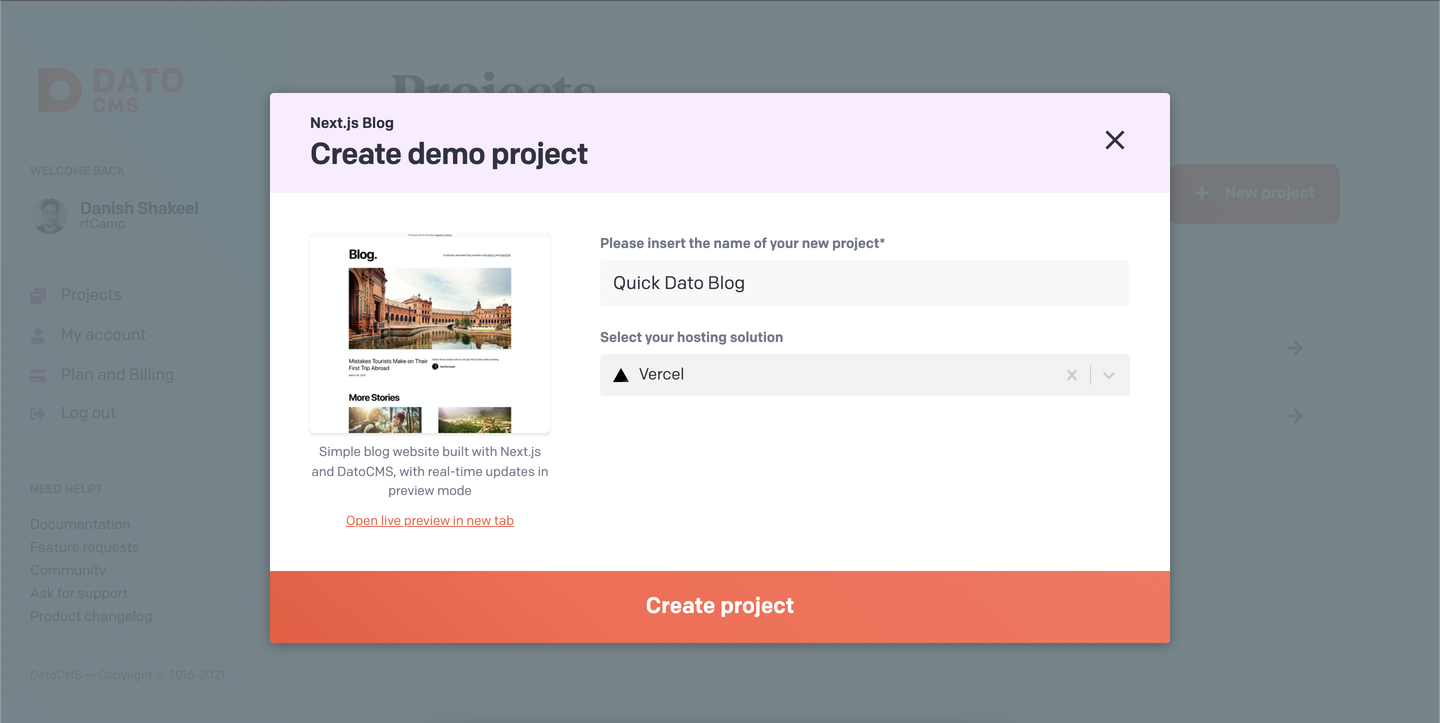
Now, click on ‘Start free project’. Name your project and choosing a hosting solution. We will use Vercel to host your app.
Configuring Vercel for DatoCMS Blog
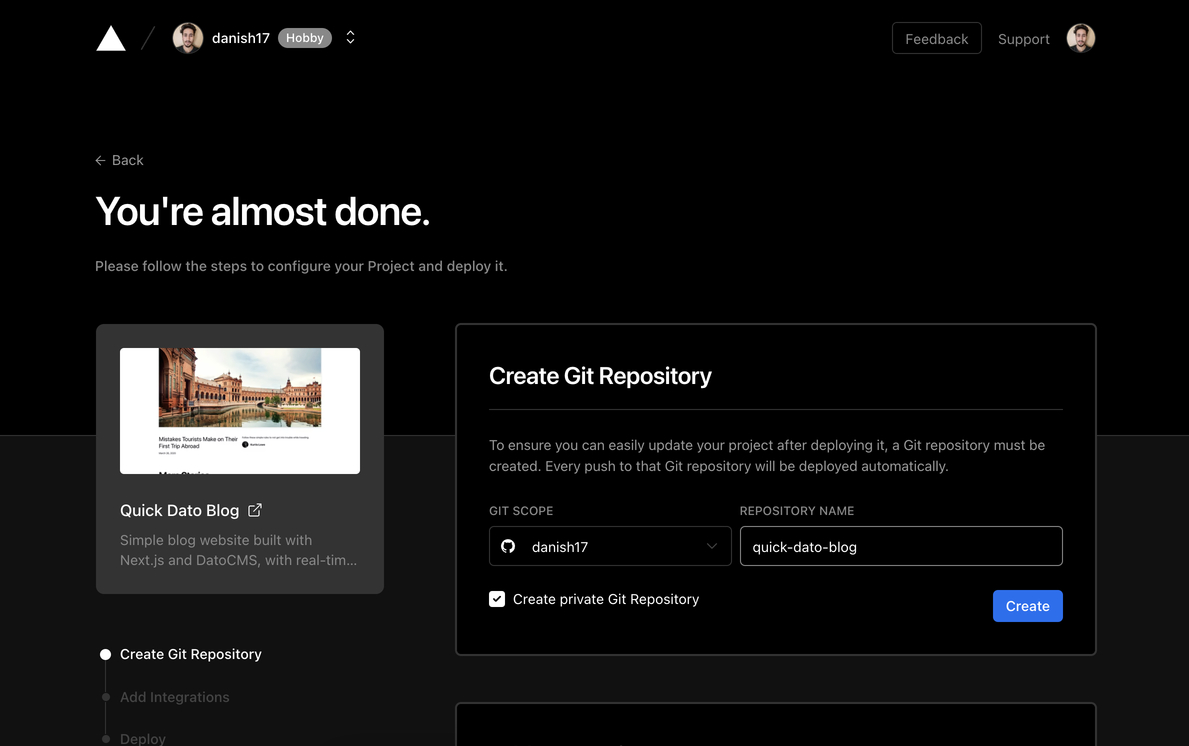
Clicking on ‘Click project’ should open a new tab for Vercel configuration. First, we need to create a GitHub repository to enable CI/CD. I will create a private repo but it is absolutely all right to keep your repo public.
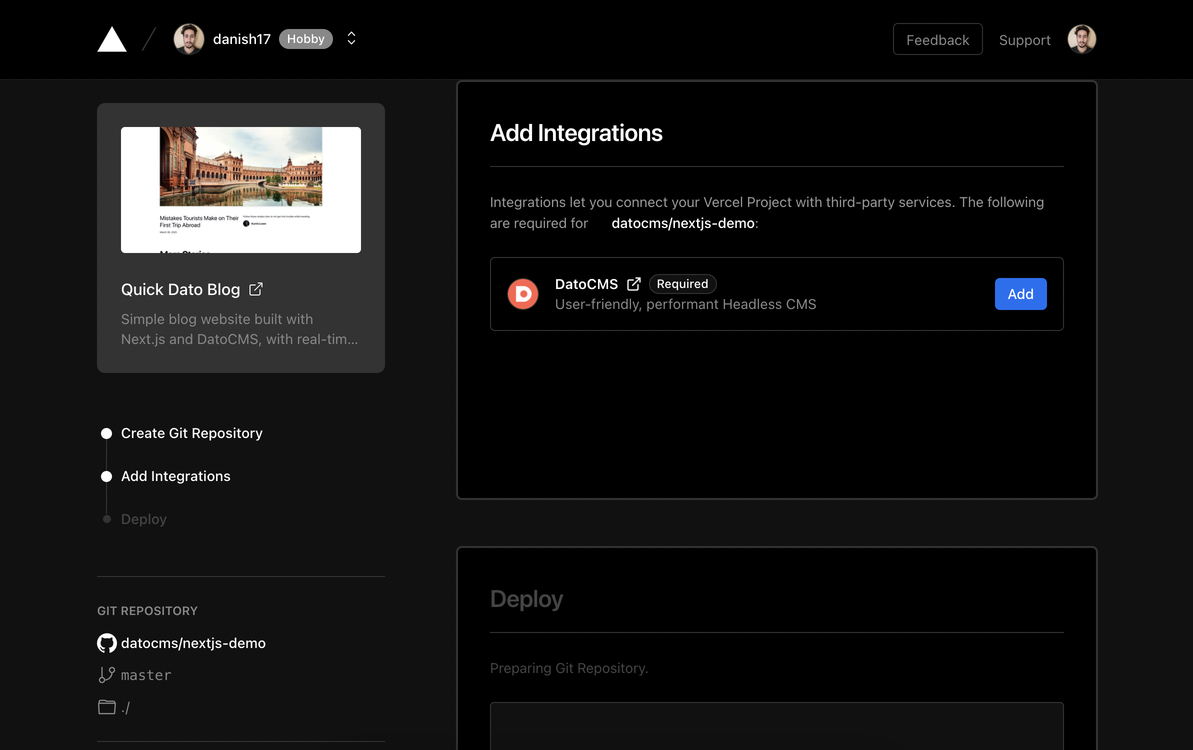
Now, we must integrate DatoCMS with the Vercel app (for obvious reasons).
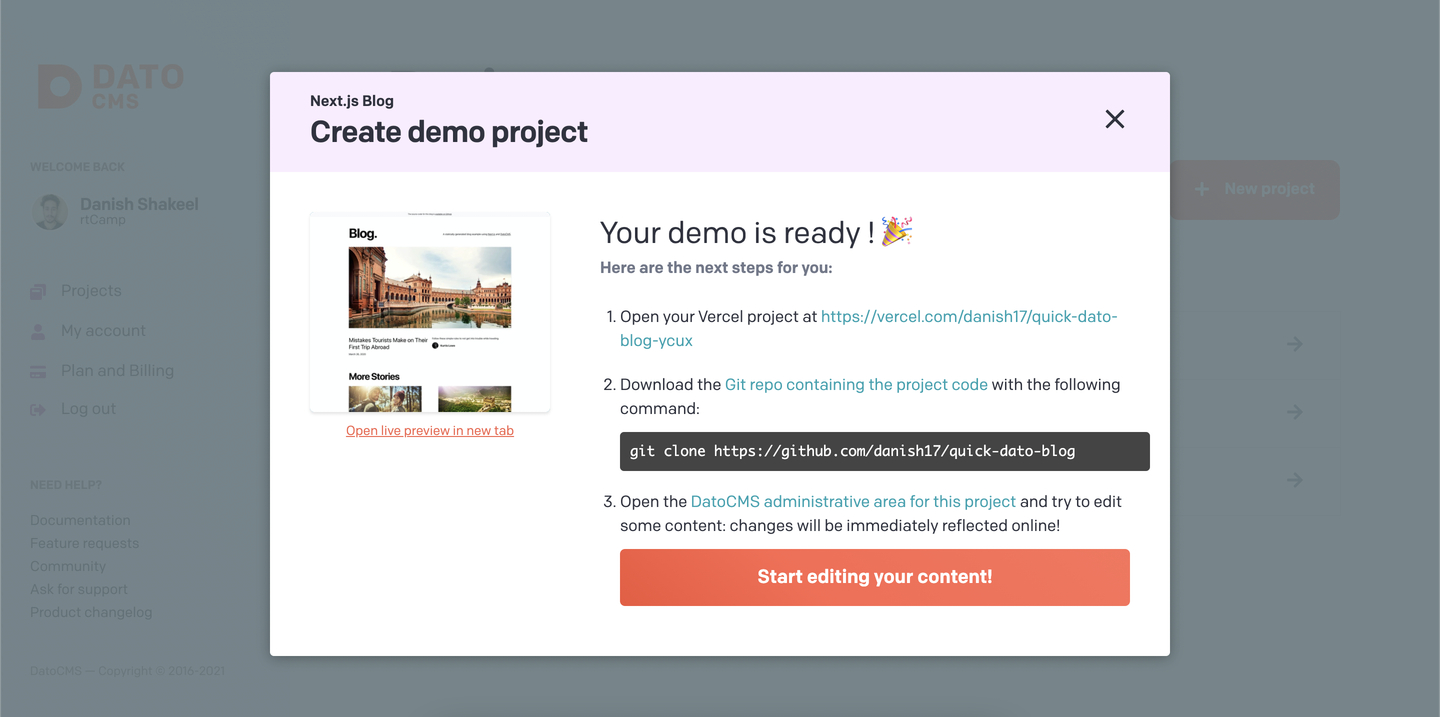
The next and the final step is to deploy our Git repo to Vercel. It should happen automatically and you should see a nice-looking message on your DatoCMS Dashboard.
Editing the DatoCMS Blog
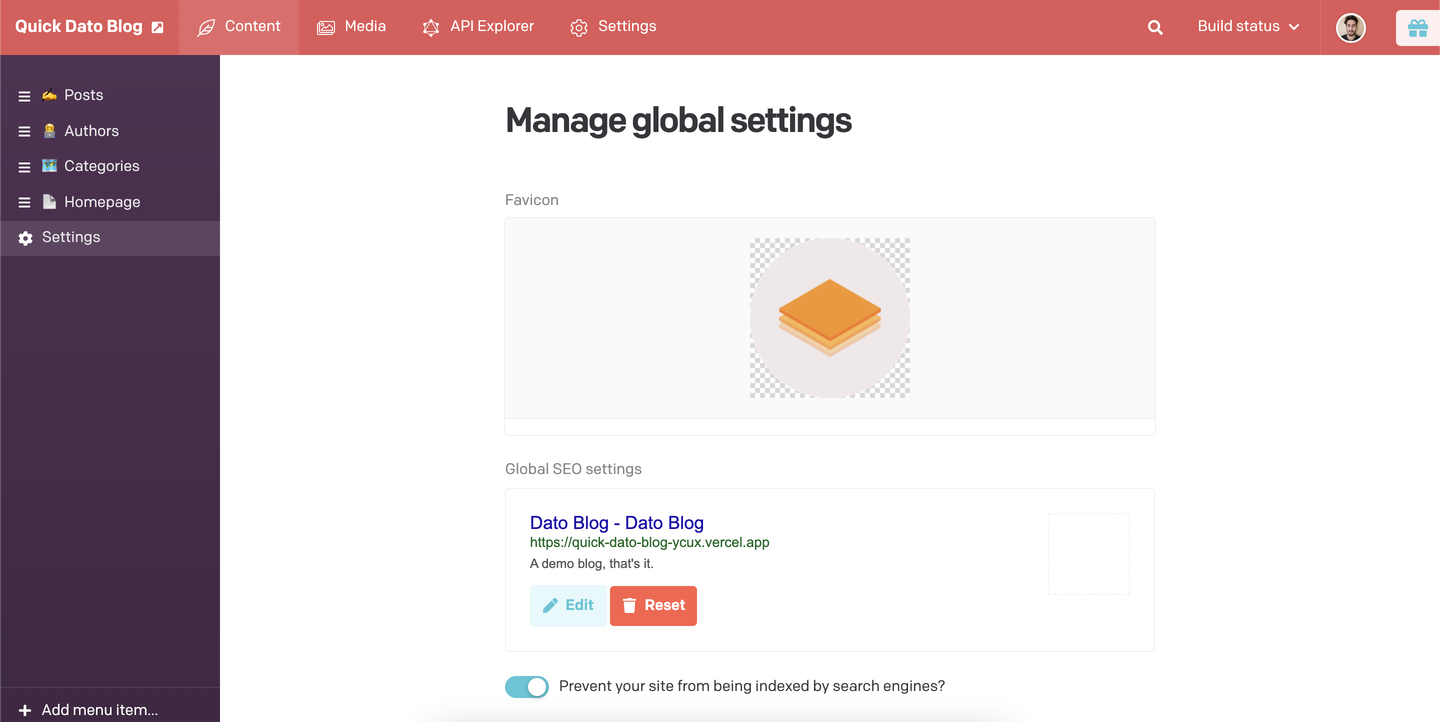
We have successfully deployed our blog. Now, we will modify global settings like Blog Description, SEO, and Favicon from the Dato Editor. Just click on your project in the dashboard and hit ‘Enter Project’. Once you are inside the editor, you will see a lot of settings in the left sidebar. Those are all the customizable options and essentially the content we can edit without having to tweak the codebase. To modify the favicon and SEO settings, we will click on ‘Settings’ option.
Now, let’s configure the homepage settings like Blog Title using the ‘Homepage’ option from the left sidebar.
Exploring DatoCMS Blog Models
DatoCMS handles editable data as a scheme called ‘Models’, which you can think of as Tables. Each model has some set of user-editable fields, like Post Title, Post Content, Featured Image. Models are modular and provide a user-friendly editing experience.
To see our models, we will click on ‘Settings’ in the top bar. Once we are there, we will click on ‘Models’ in the left sidebar. Our starter project has four pre-defined models – Author, Blog, Category, and Post. Each model can have a collection of records/instances, like we can have multiple posts on a single website.
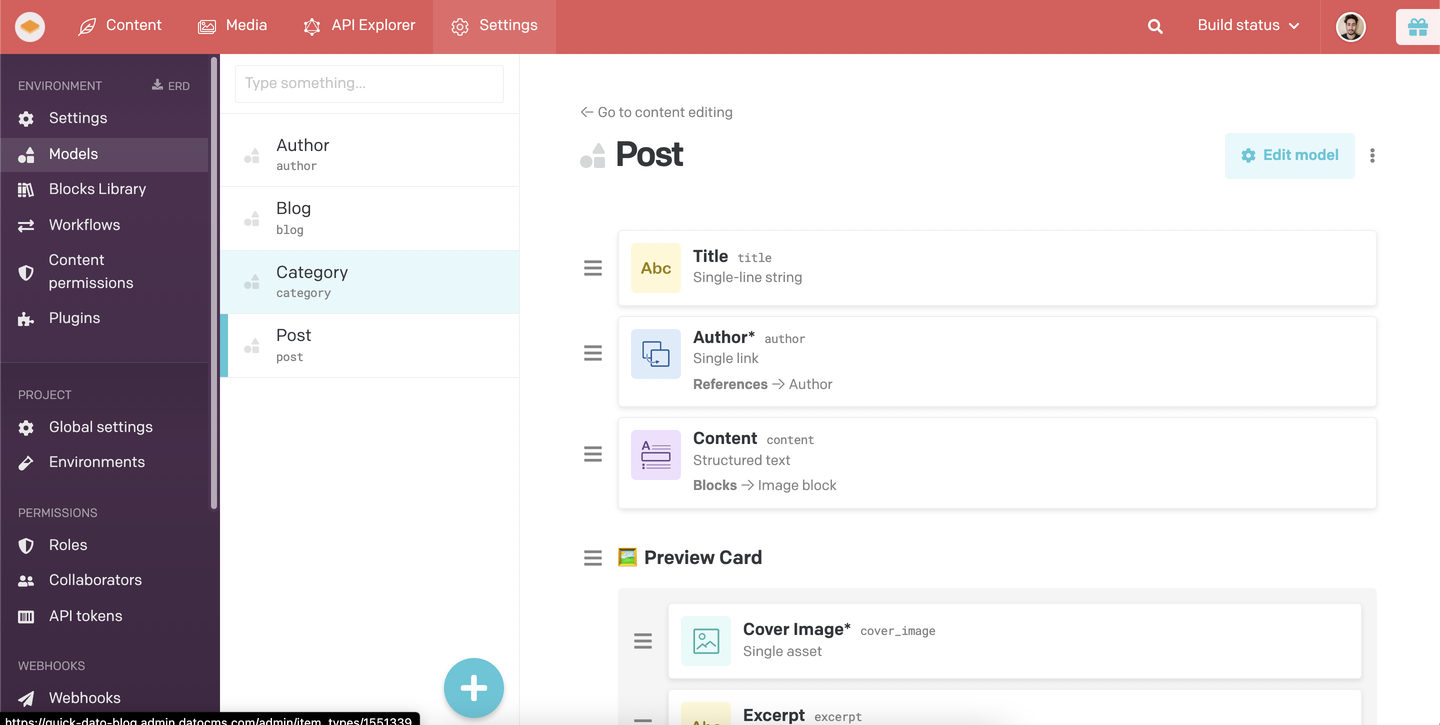
Our Post model has a number of fields – it has a Title, Author (which is linked to another model ‘Author’), and a structured text field to store the post Content. Then, it has some fieldsets, which are models inside models (sort of). Those handle our previews and post metadata.
To know more about DatoCMS Models, you can check out DatoCMS’ documentation.
Adding Content
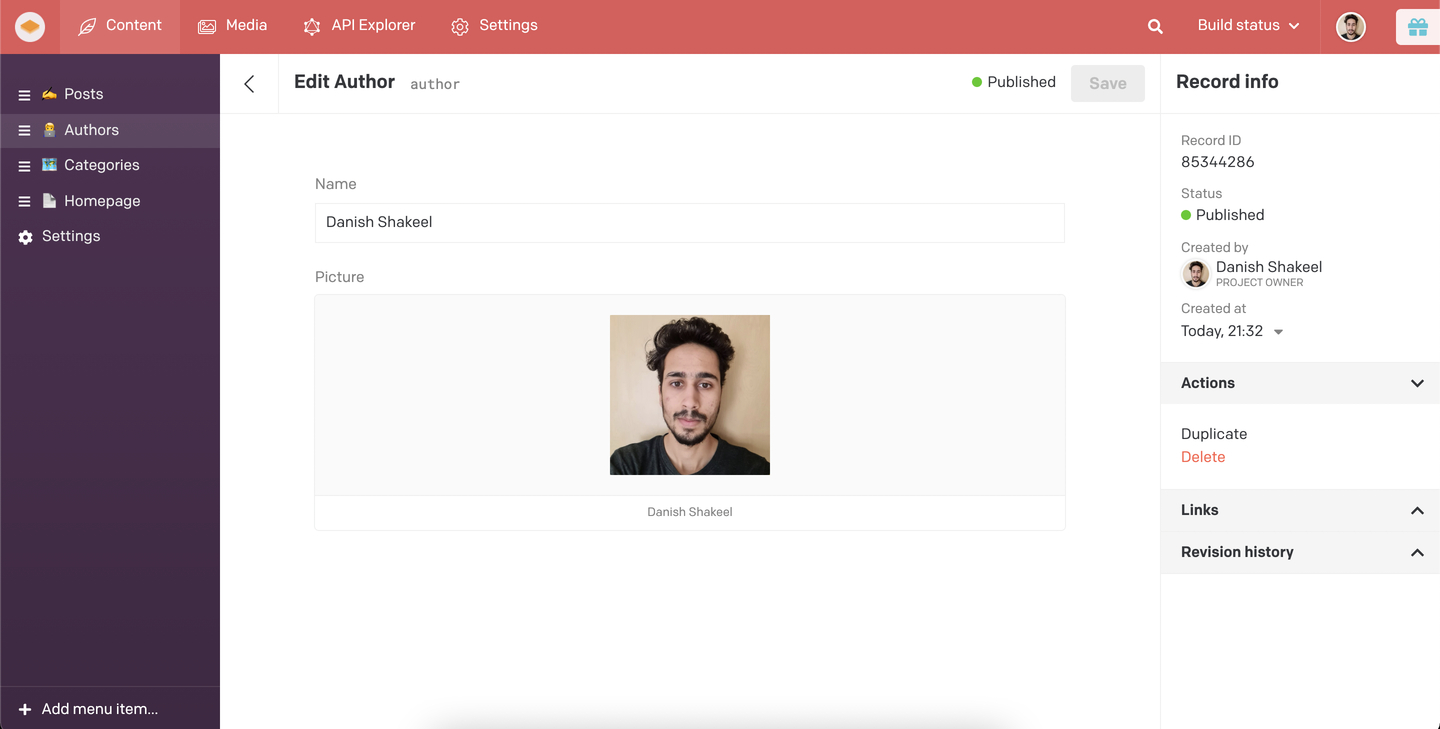
Now that we have an overview of what a model is, we will add a few posts. To add content (posts) to our blog, we will click on ‘Content’ in the top menu. Inside the left sidebar, we will have all our models. Before we do that, let’s add an author so that we can link it with our posts.
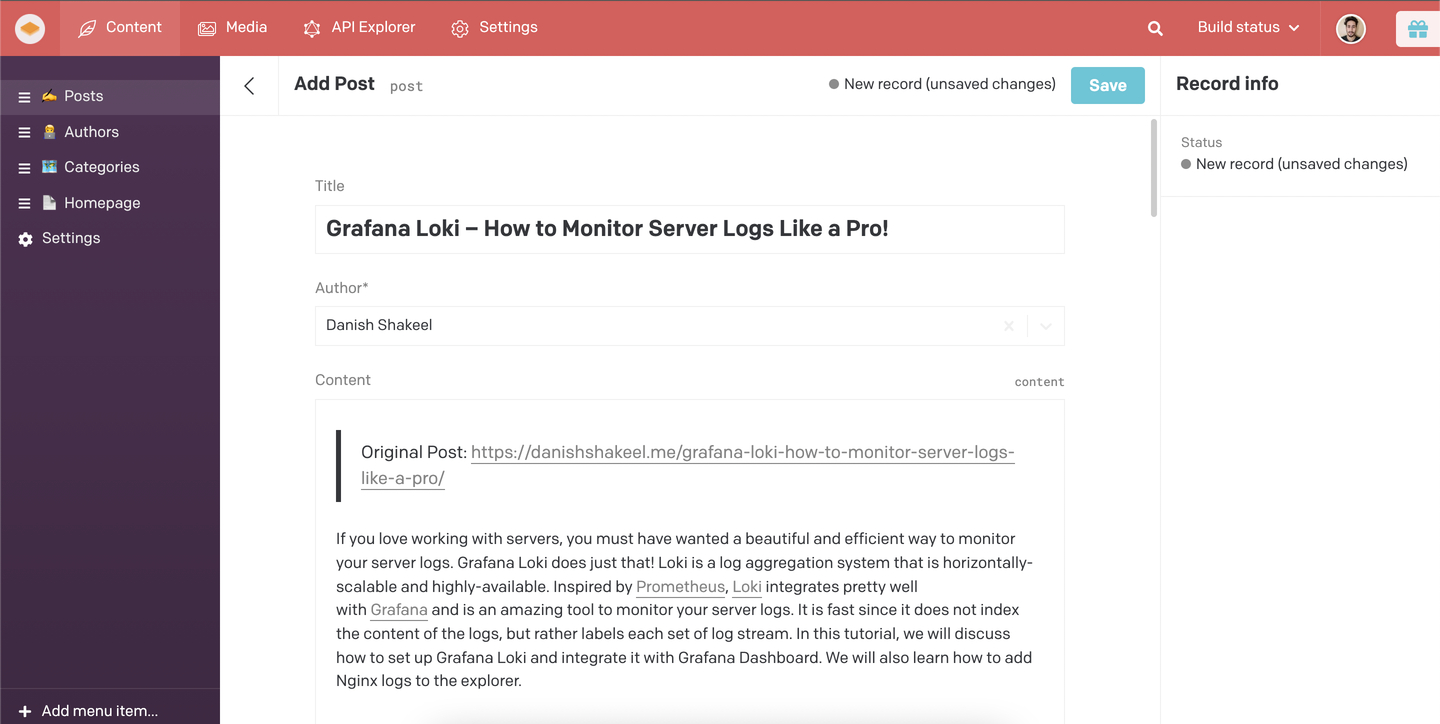
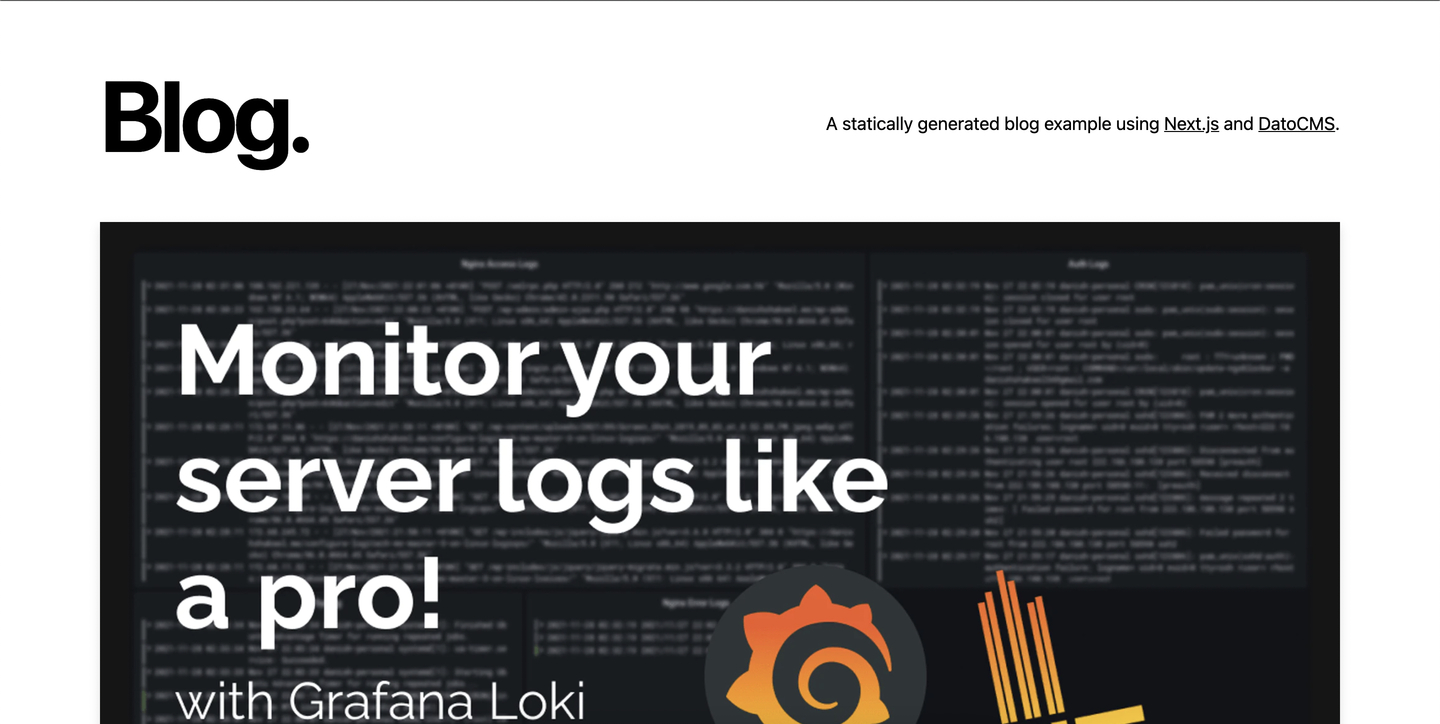
Let’s create a post. I will quickly copy my own post about how you can setup Grafana and Loki to monitor your server logs ?. DatoCMS Editor supports rich-text, and we can add things like lists, images, headings, and quotes by pressing the '/' key (just like WordPress). We will add stuff like quotes, and code blocks (DatoCMS Editor has some awesome codeblock editing experience).
Similarly, we can add the other two fieldsets – Preview and Metadata. Now, we are ready to publish!
Building the Blog
Once you are done with all the editing, you need to deploy the blog by ‘building’. In the top-right corner, click on ‘Build Status’ and hit ‘Build Now’. This will generate a static site and deploy it on Vercel. The logs can be checked in Settings > Activity Logs.
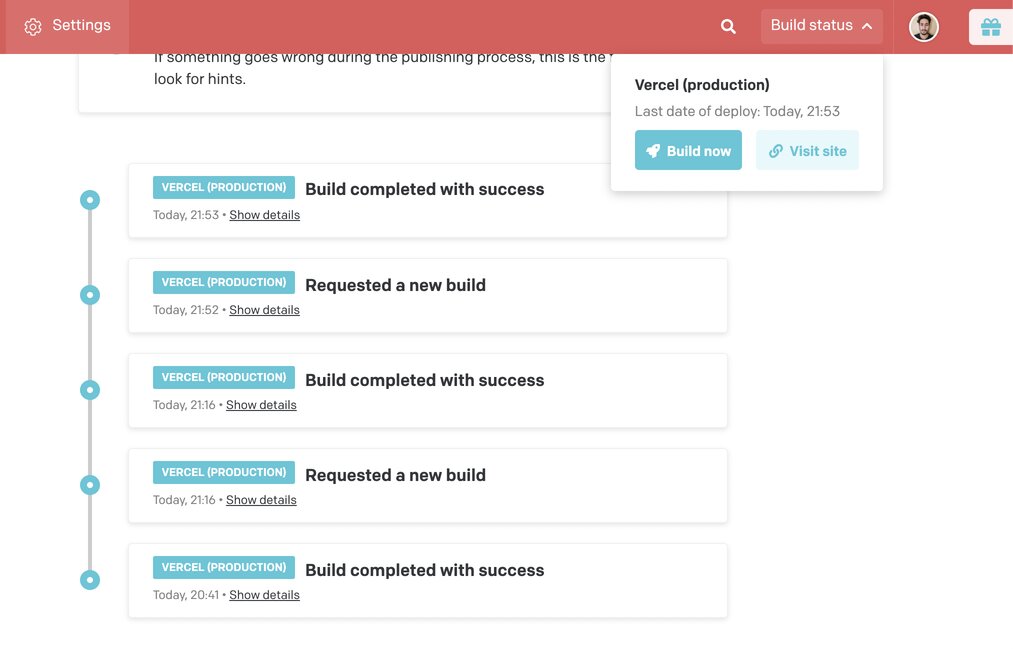
Bravo! Our website is live now ?. Click on ‘Visit Site’ in the ‘Build Status’ dropdown to see your site. You can check mine here.
What’s Next?
In the next blog posts, I plan to go through how we can test our DatoCMS app/website locally, edit the code, and make it more customizable. Also, maybe we can check out how it compares to WordPress ?!?
I would like to thank the contributors of the DatoCMS Blog Starter Project. Do check out the repo.
Leave a Reply