Danish Shakeel
Portfolio
Blog
Let’s talk 🚀
Category:
JavaScript
The 18-Second Request: Tracing a Latency Bug to a Hidden Retry Loop
January 7, 2026
Block Editor Best Practices: WordPress Meetup Saarland
September 6, 2024
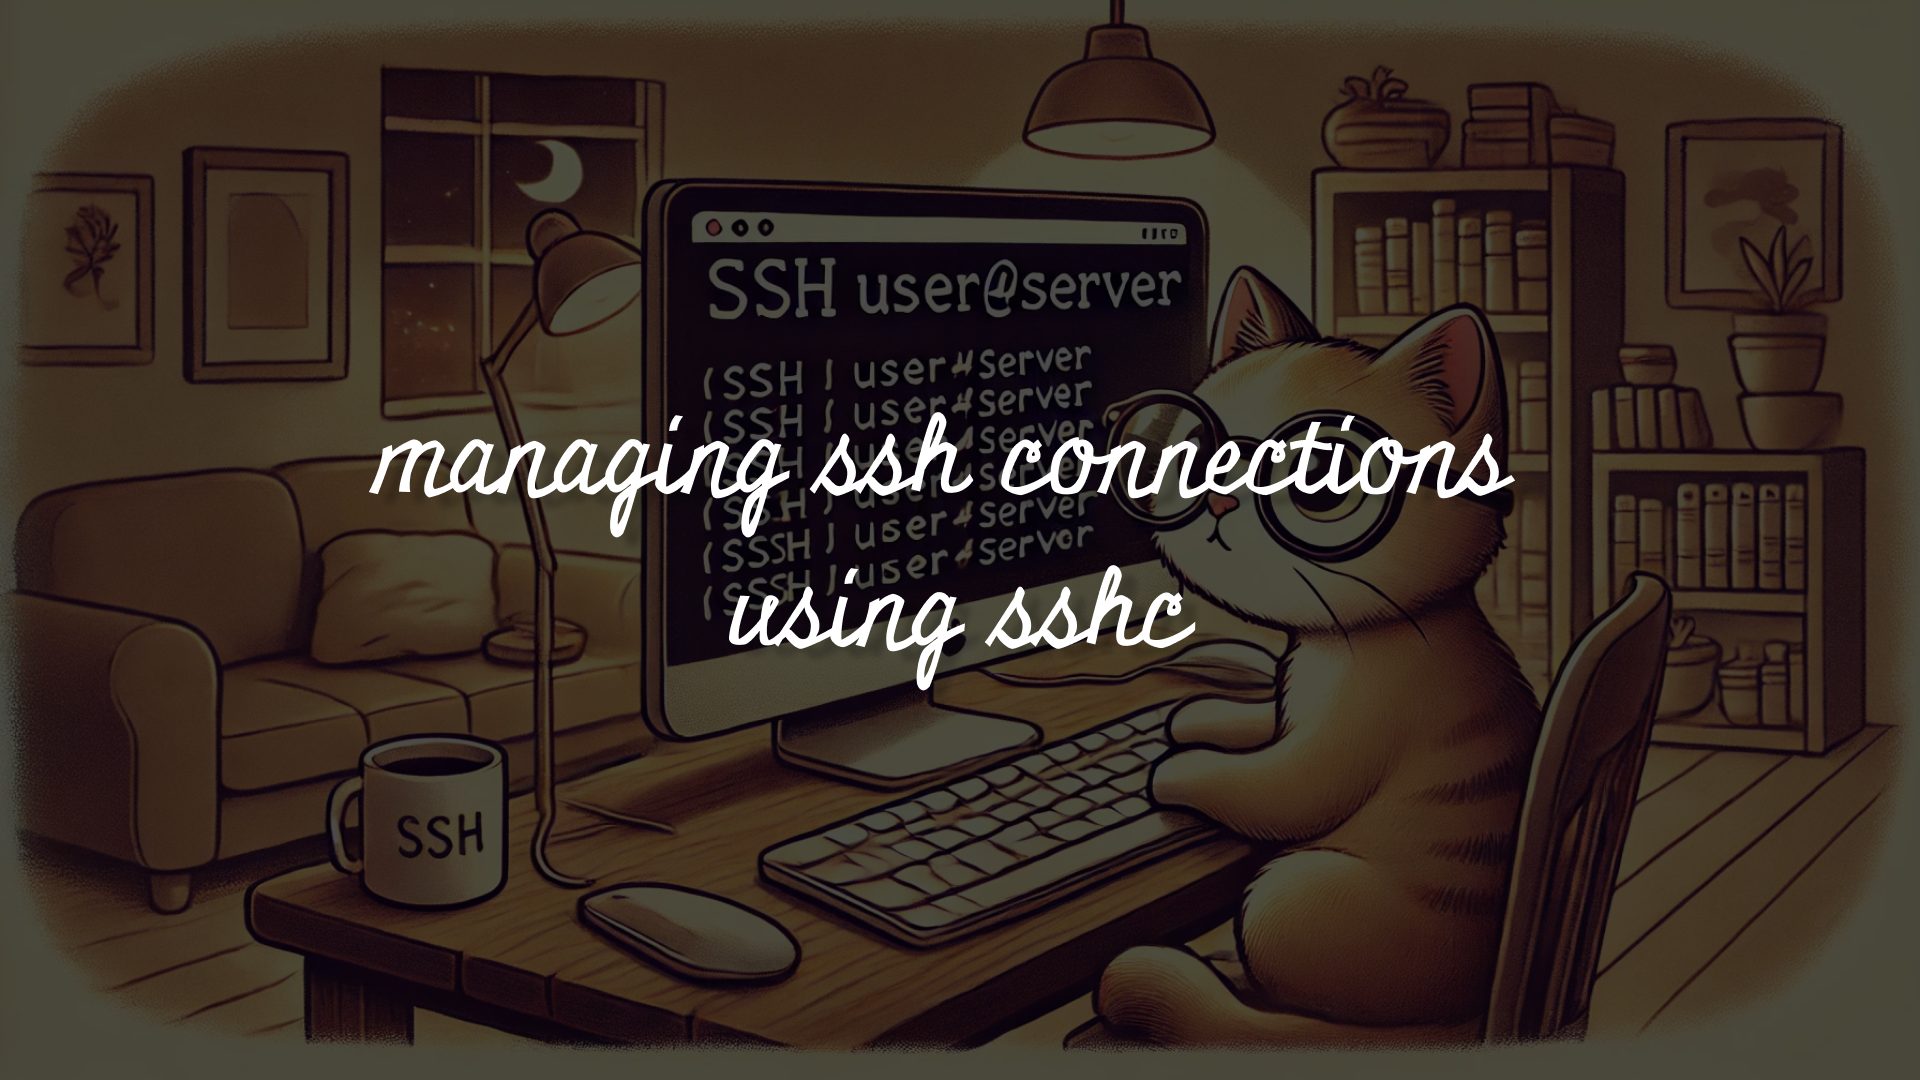
sshc: a simple command-line SSH manager
August 29, 2024
Protected Routes in Next.js
November 27, 2022