WordPress is a pretty powerful CMS but it is often misunderstood and its power is underestimated. People need to learn WordPress, not only because it drives almost half of the web but also because it is powerful, versatile, and open source.
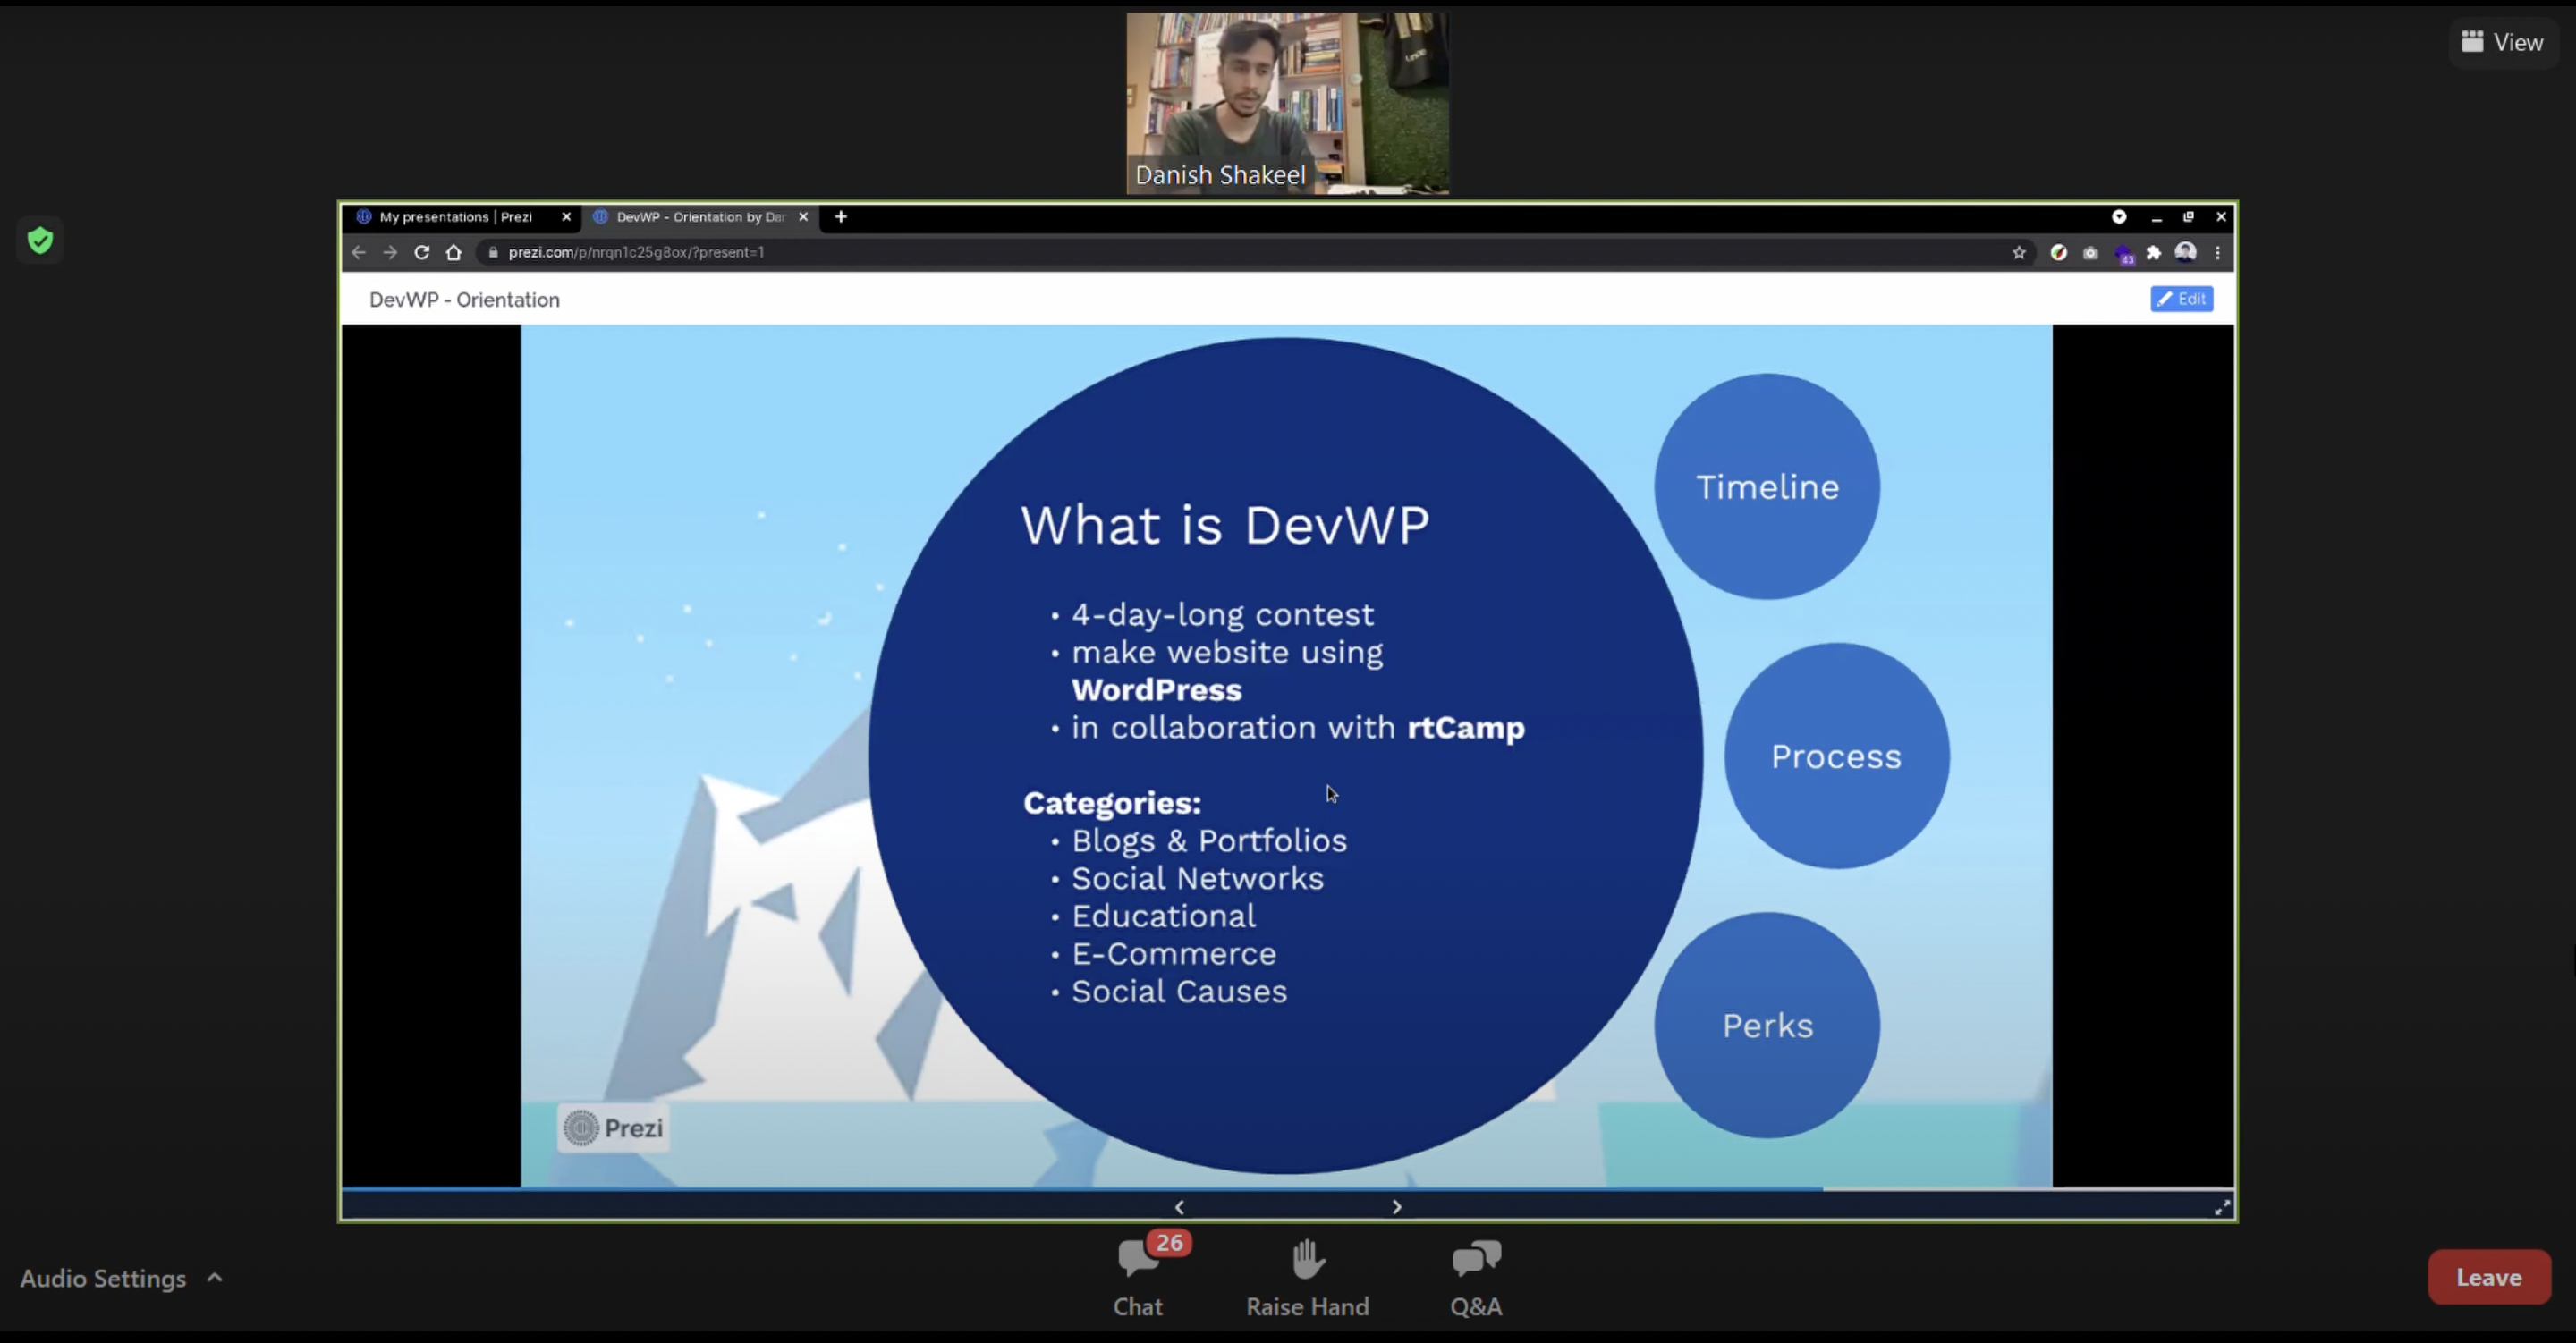
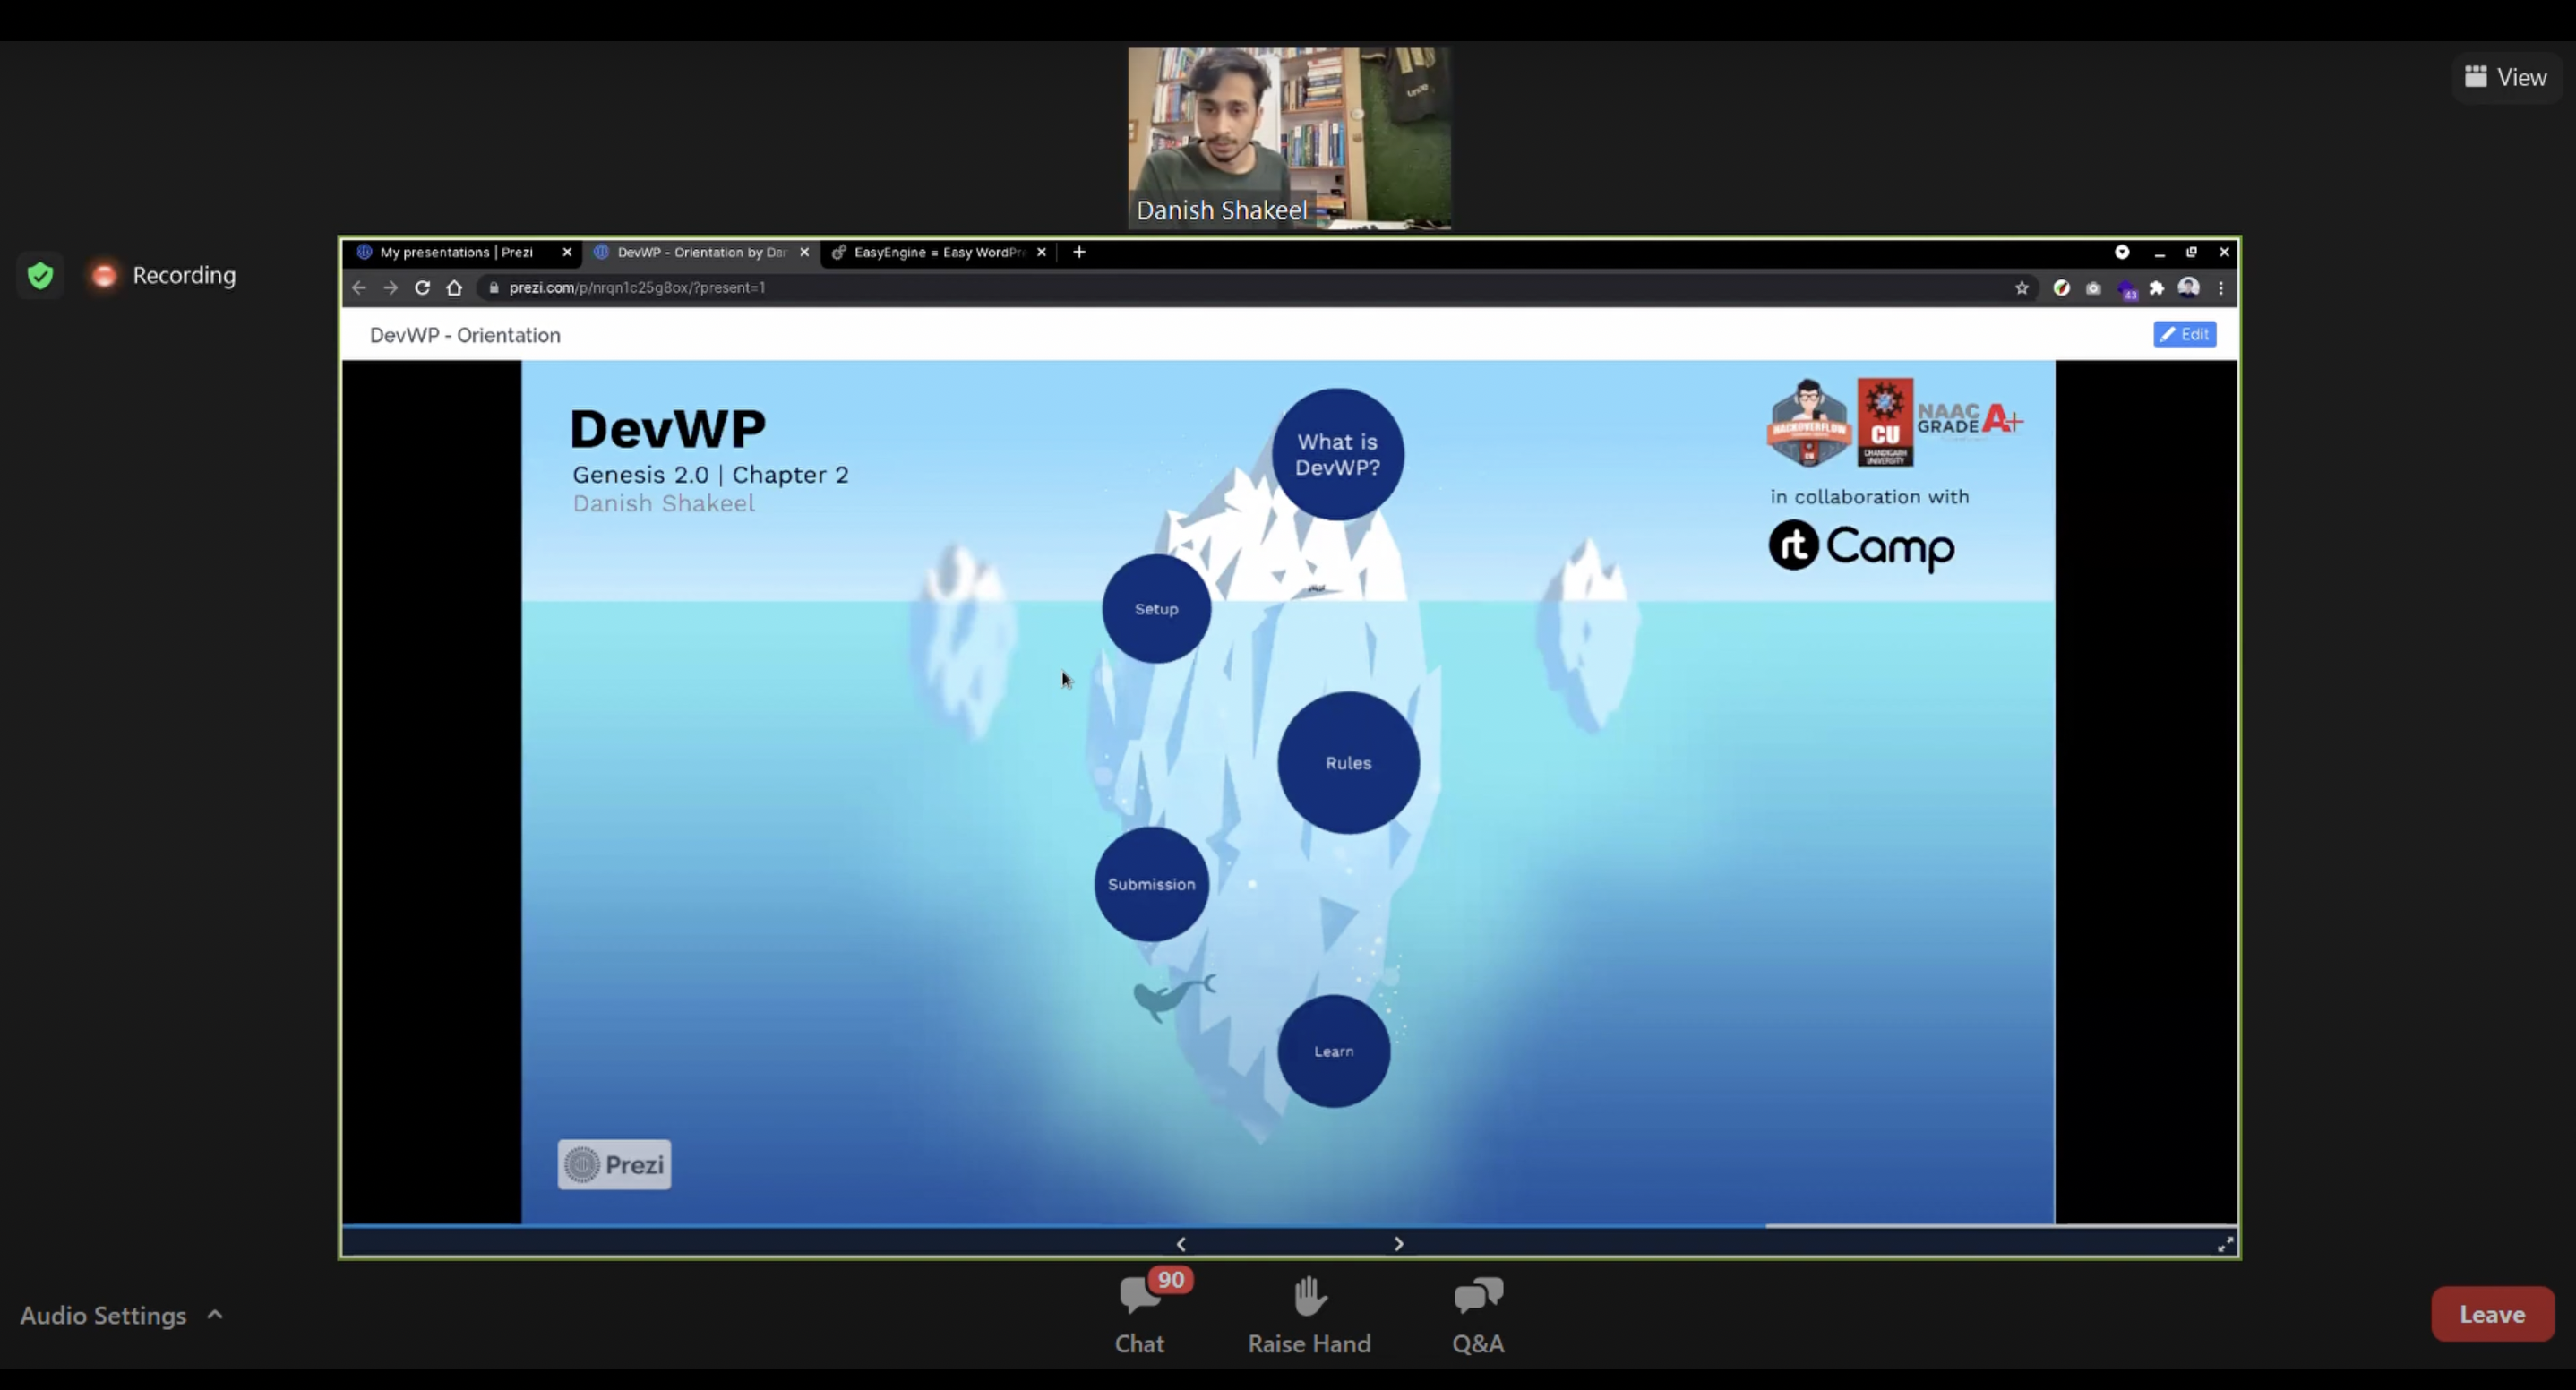
Hackoverflow Technical Society organized ‘DevWP’, a four-day-long WordPress contest in collaboration with rtCamp, a WordPress VIP Gold Agency Partner.
Our goal is to introduce students, particularly college freshers and juniors, to WordPress. The participants will create a website on different topics, ranging from personal blogs to e-commerce websites, using WordPress. We want students to understand that WordPress is not just another CMS, but they can build really amazing applications using it.
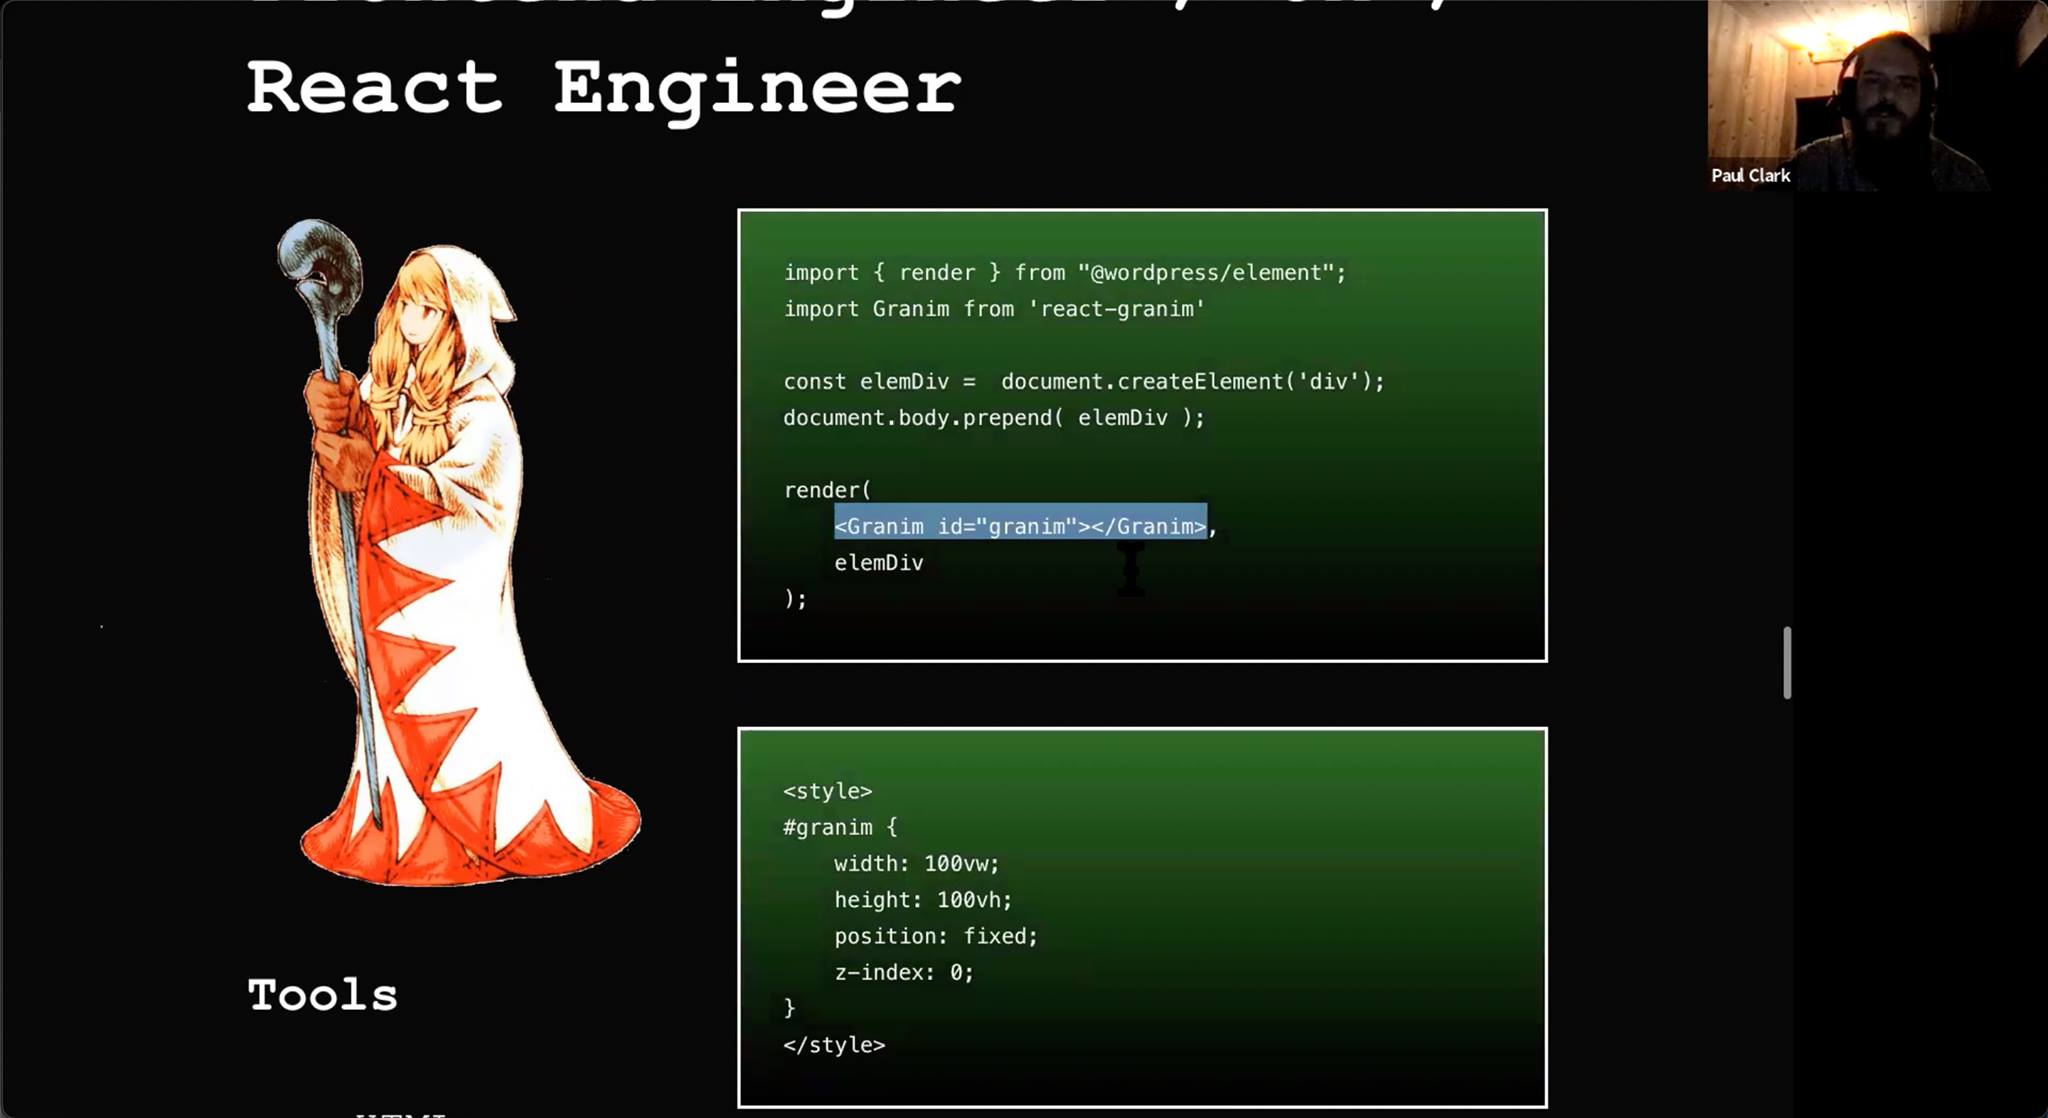
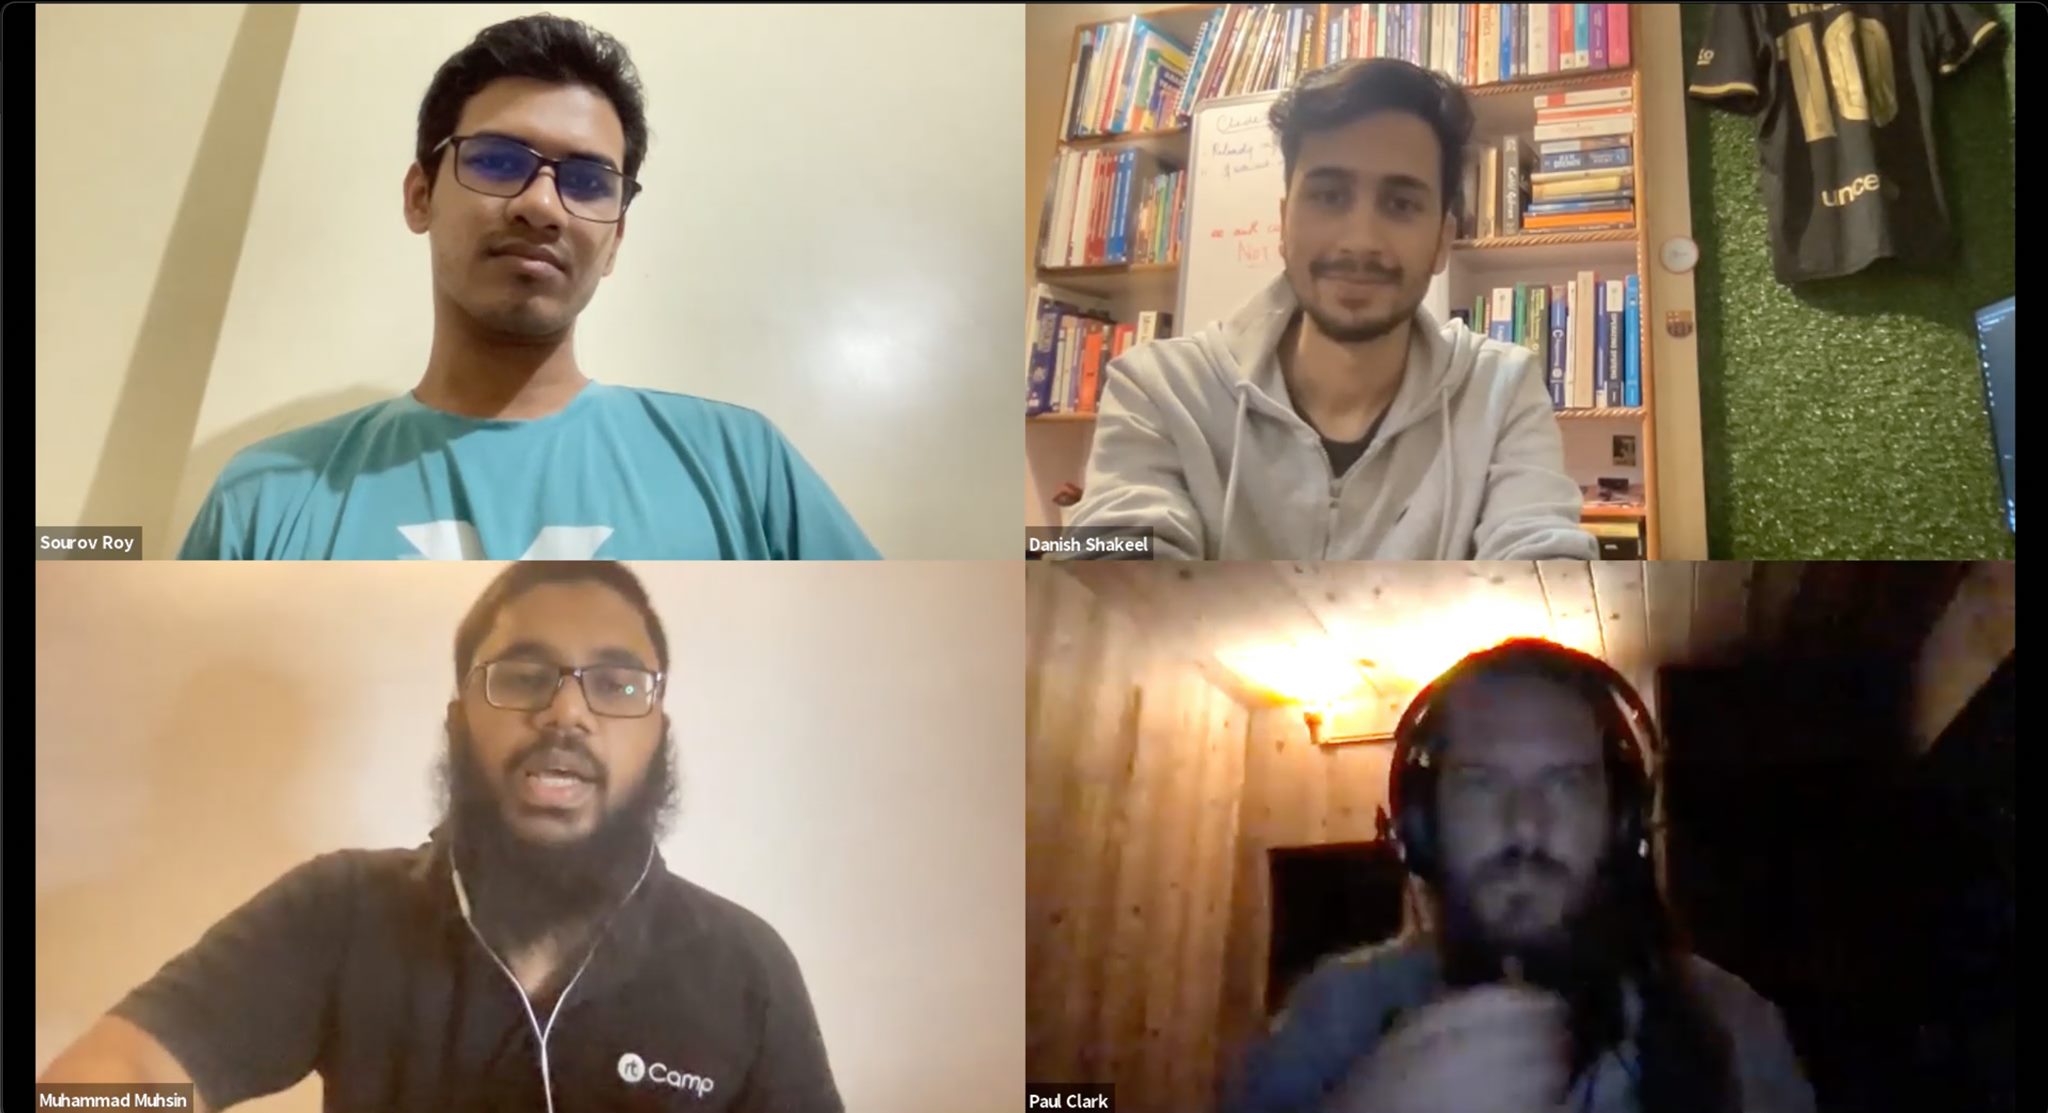
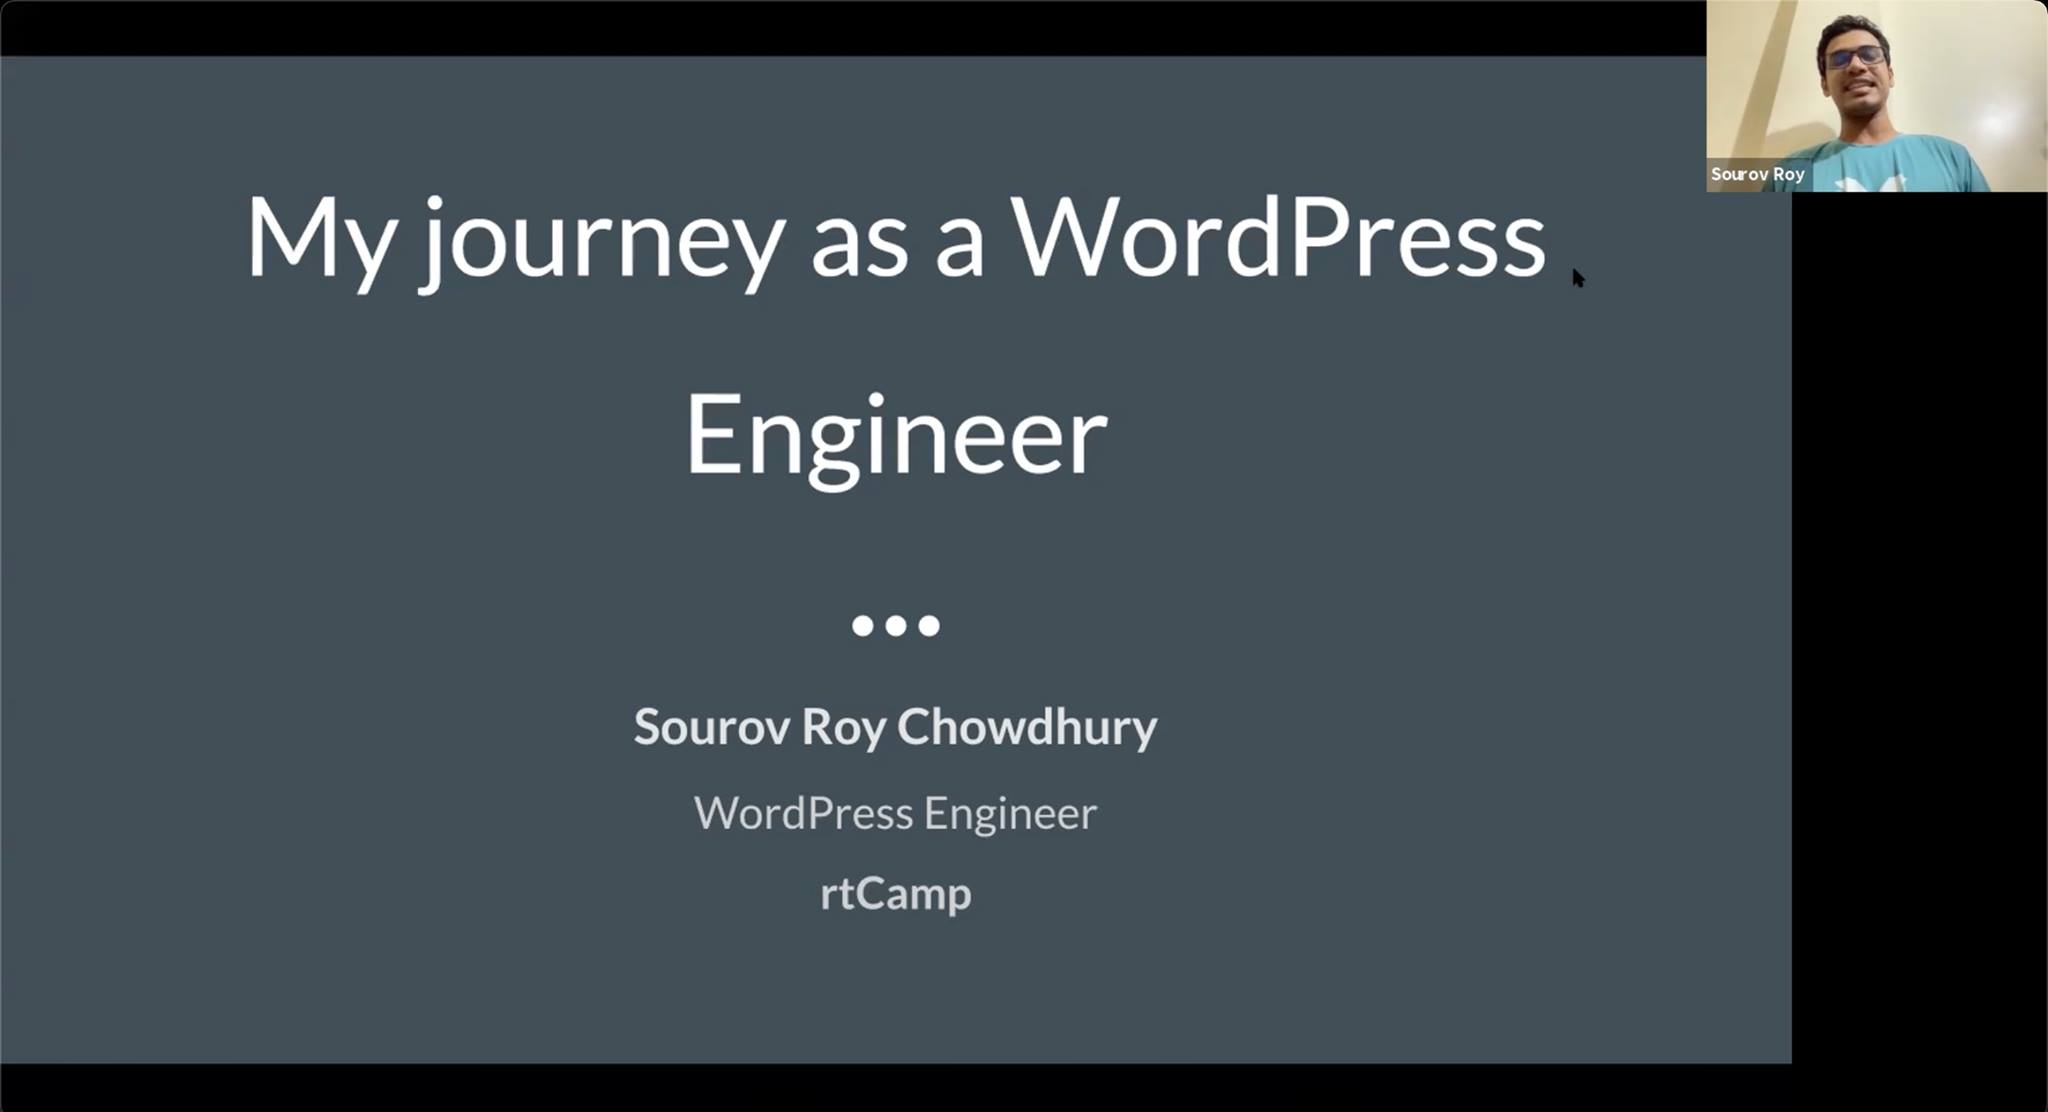
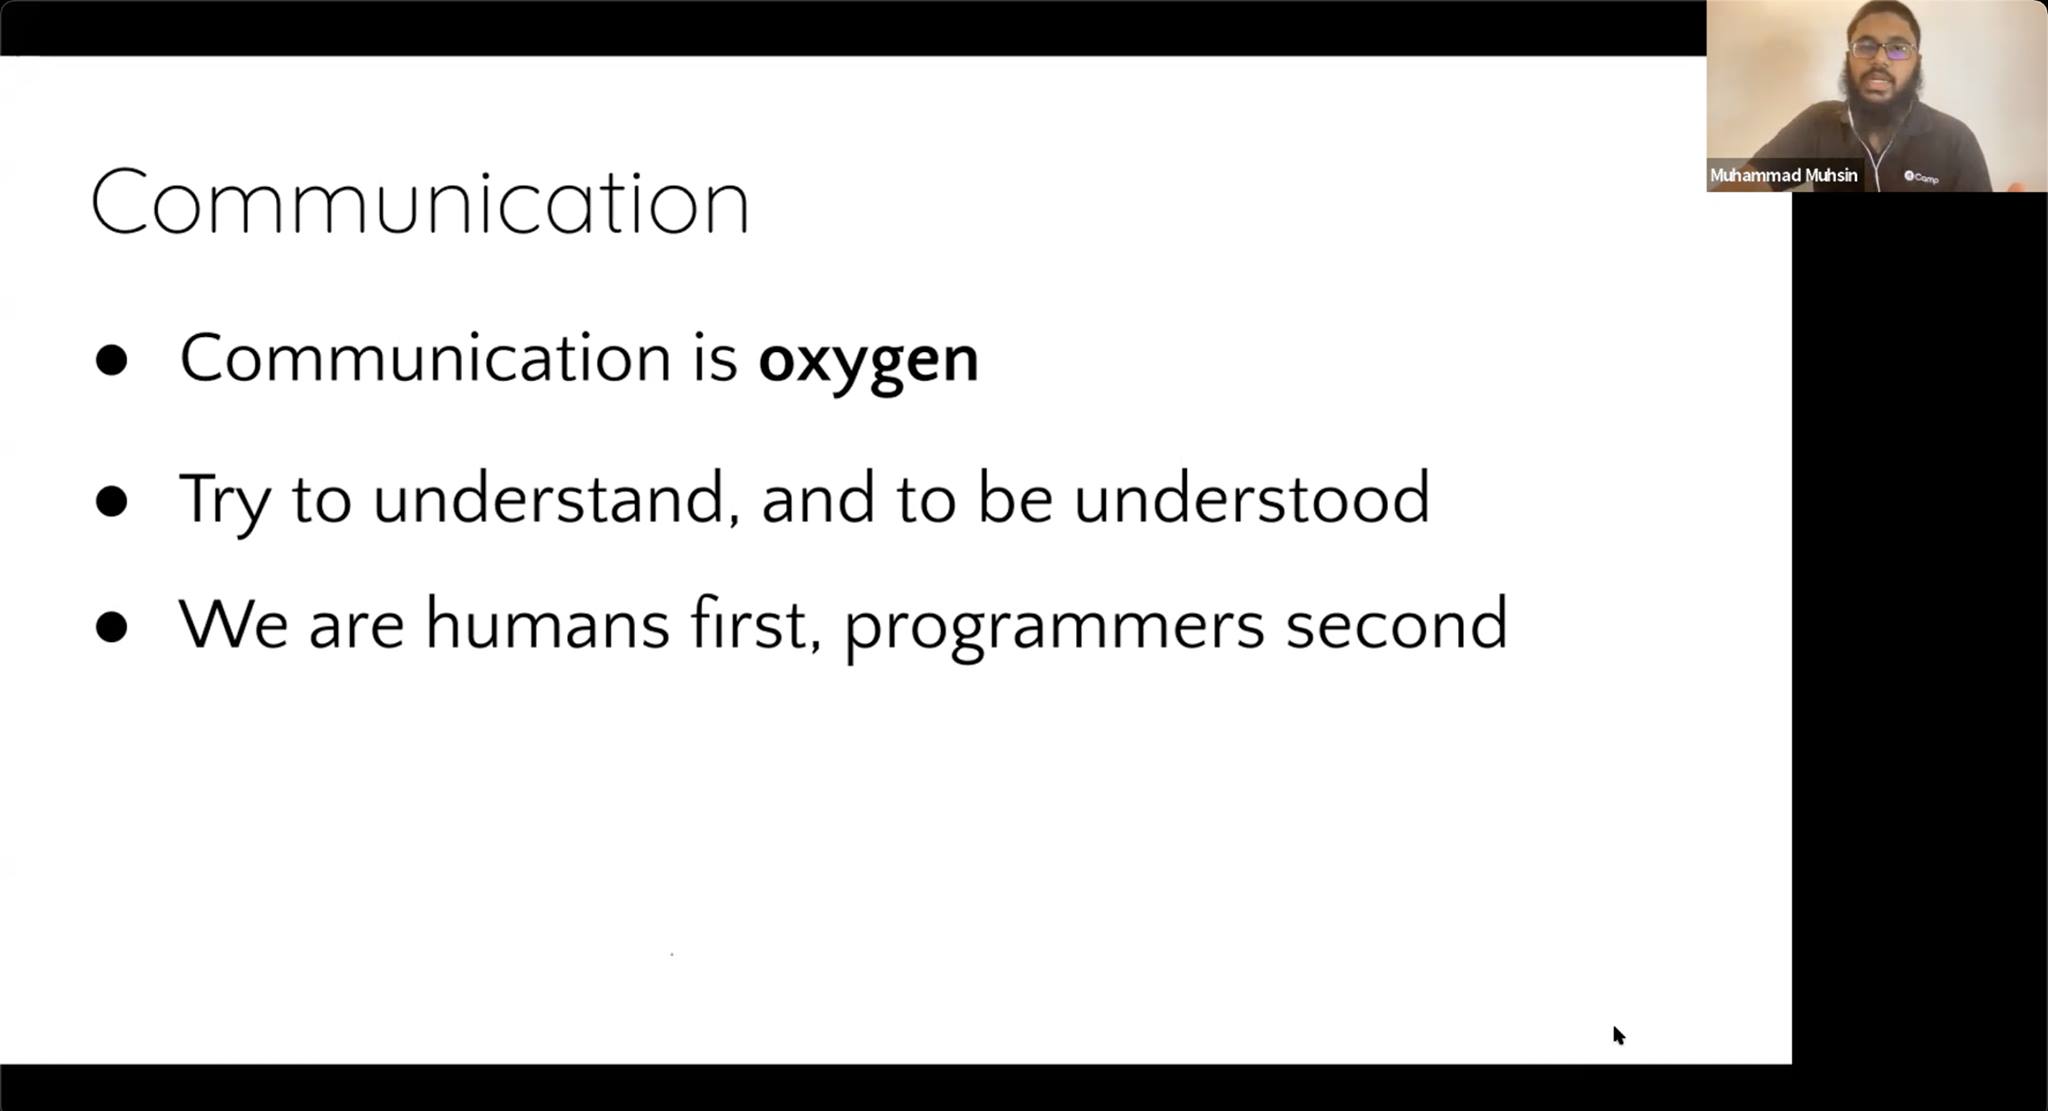
In this session, we had Muhammad Muhsin, Sourav Roy, and Paul David Clark with us. We covered three topics – Career Opportunities in WordPress, Journey as a WordPress Engineer, and Career Roadmaps. Muhsin is a Senior React Engineer at rtCamp, Sourav Roy is a WordPress Engineer, and Paul Clark is the Director of Engineer at rtCamp.
In this #edition, we thought of including a contest about #WordPress since people often underestimate its power. #WordPress is at the core of most of the #websites that we see today, so it is imperative for freshers to at least know about #WordPress.
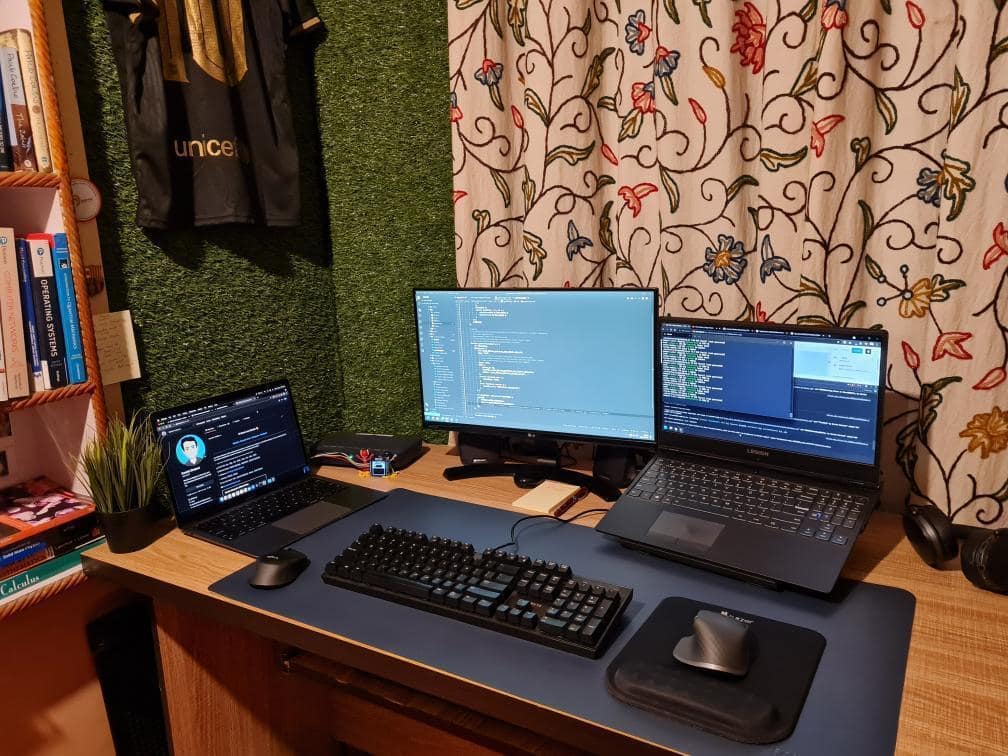
I have always been obssessed with having the finest gadgets on my desk. Although I am still far from having the best setup, I have certainly made some good progress. I am a fan of clean and minimal setups, and keeping it that way is a tough task to do.
My primary device runs Zorin OS 16 Pro and it is attached to an LG 27″ 1440p monitor. I use my primary device primarily for development.
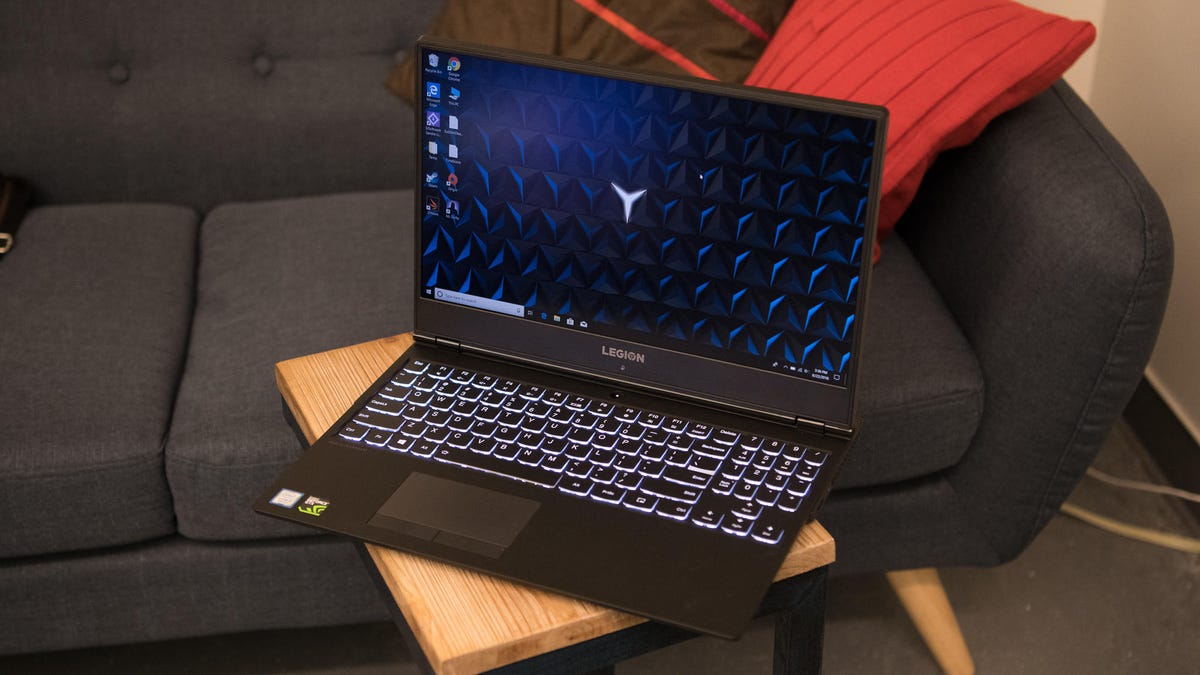
Lenovo Legion Y530 is one of the best laptops that I’ve ever laid my eyes on. It is built well, has no RGB (I absolutely hate RGB), and does not cut many corners.
Lenovo Legion Y530 (Source: CNET)
Peripherals
I believe that a setup is only as good as the peripherals. I only use peripherals on my primary device and these are the peripherals that I have:
Keyboards
I own two keyboards, one is a mechanical keyboard with Cherry Blue swithces – Gigabyte Force K83, and one is wirelesss – Logitech K480. Even though I really like Gigabyte Forece K83, it is not the finest mechanical keyboard. It is wired and it does not have that ‘THOCC’ sound!
Gigabyte Force K83 (Source: Amazon)
Logitech K480 (Source: iLounge)
Mice
MX Master 3! The best mouse ever built. I have two mice, one on either side of the desk. The main mouse is an Logitech MX Master 3, an absolute beast. I also use a Logitech B331 Silent Plus, mainly dues to its silent clicks.
Logitech MX Master 3 (Source: Windows Central)
Logitech B331 Silent Plus (Source: nami.com.my)
Secondary Device
I use a MacBook Air M1 (8GB + 256GB) as my secondary device and I bought it mainly because of two reasons: portability and battery backup. It’s UNIX so most of the Linux commands work just fine; however, due to the ARM architecture, EasyEngine does not work on M1.
MacBook Air M1 (Source: Engadget)
Development Server
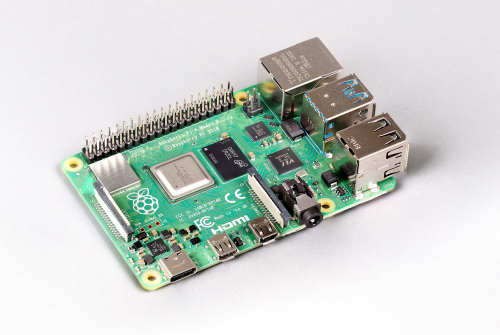
Having multiple devices comes with its own caveats: synchronizing data and your progess is one of them. You can use GitHub to pull and push changes but in this part of the world, the internet can go out any time. Fortunately, I had a spare Raspberry Pi 4 Model-B with 8GB RAM which I use to run Ubuntu Server 20.04 and it has the following services running:
I recently migrated to Linode for my personal portfolio and project (proof of concept) websites. I am running Ubuntu Server 20.04 LTS on a 1GB Nanode. Most of my websites use WordPress and I use Nginx, MariaDB, PHP (LEMP) as my stack. I use a Multisite Network since it let’s me manage all my websites from a single dashboard.
Initially, I was using a single site, so I used Certbot to install a Let’s Encrypt SSL Certificate. If you plan to host only one site on your server then you should be good to go with a single Certbot command; however, if you’ve, or plan, to run more than one site on your server, the process is different. Let’s learn how we can install wildcard SSL certificates on Linode.
Generating a Token
To let Certbot manage your DNS Records, we first need to generate an API token or Personal Access Token (PAT). To generate an API token:
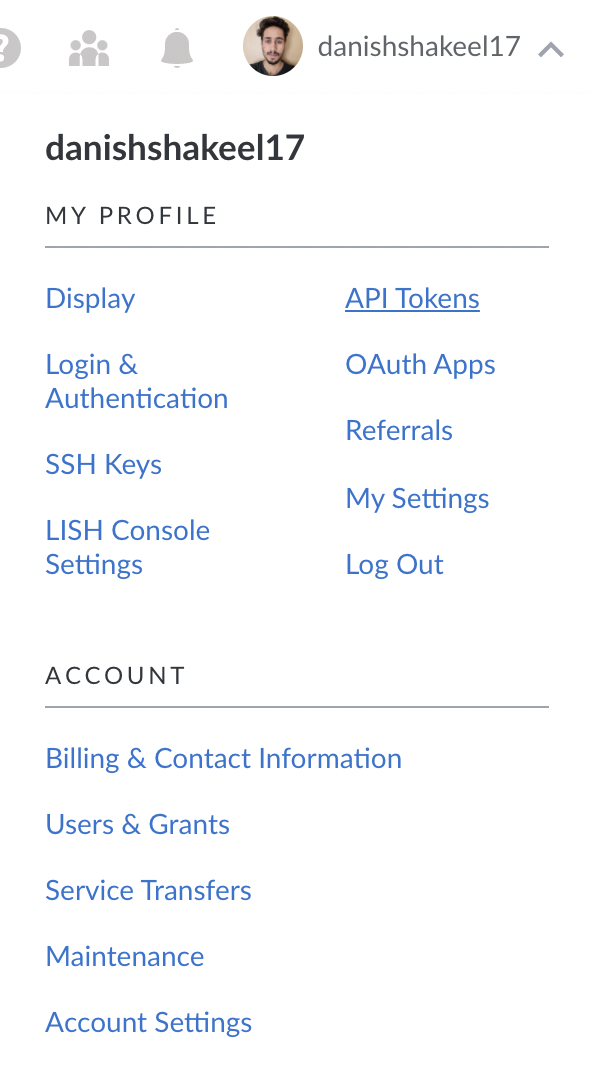
Log in to your Linode account
Click on your Profile & Account settings
Choose API Tokens
API Tokens – Profile & Accounts – Linode
Once you’re in, click on ‘Create a Personal Access Token’ option.
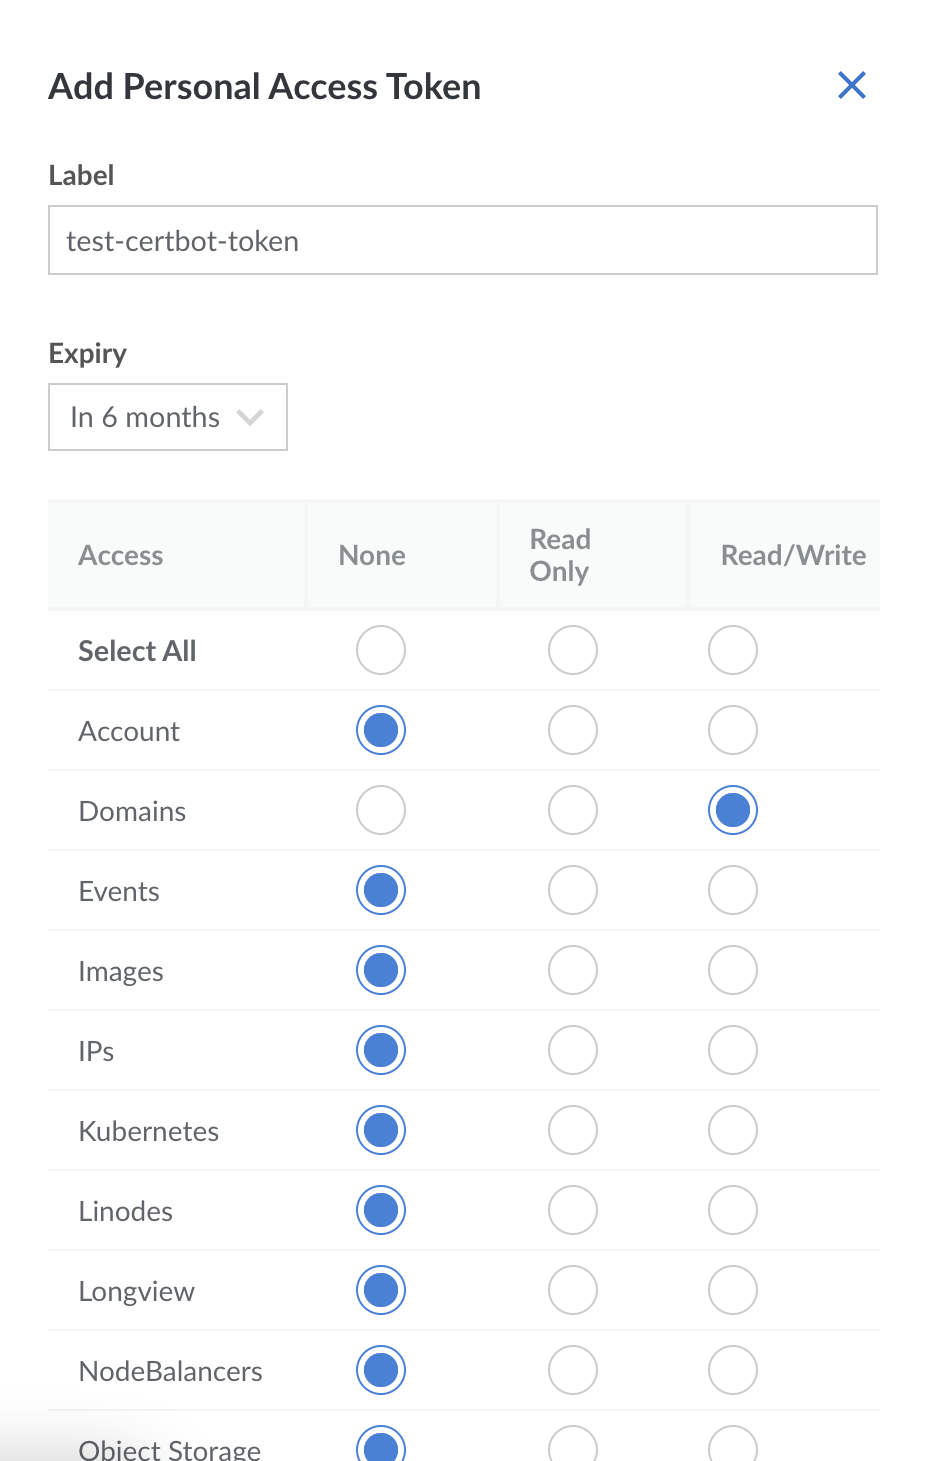
Create a new token that can read/write your Domain Records. Since you’ll most likely be using this token just for Certbot, you can disable all the other privileges.
Adding a Personal Access Token – Linode
Click on ‘Create Token’, copy the generated token and save it somewhere safe. The tokens cannot be viewed again, so if you lose it, you’ll have to regenerate it.
Now, create an .ini file to store your token. Your .ini file should look like this:
Certbot is a free, open source software tool for automatically using Let’s Encrypt certificates on manually-administrated websites to enable HTTPS. We’ll use certbot package and python3-certbot-dns-linode plugin.
We are using ‘*’ to let Certbot know that all the subdomains, such as blog.danishshakeel.me, hire.danishshakeel.me, or www.danishshakeel.me should be able to use the certificate. –dns-linode-propagation-seconds is the time (in seconds) for which we wait for the changes to propagate to the server before asking the ACME servers to verify.
Certbot will ask you to input the path of the .ini file which we created.
Input the path to your Linode credentials INI file (Enter 'c' to cancel): <PATH_TO_INI_FILE>
Waiting 180 seconds for DNS changes to propagate
Waiting for verification...
Cleaning up challenges
Congratulations, we have successfully generated our certificate and chain. Note down the path to the fullchain.pem and privkey.pem.
Configuring Nginx
Now, we can configure Nginx to use our certificate.
options-ssl-nginx.conf
Before we can edit our Nginx configurations, we need to ensure that options-ssl-nginx.conf exists in /etc/letsencrypt directory. In case it does not, we can simply create one and copy-paste this content into it.
# This file contains important security parameters. If you modify this file
# manually, Certbot will be unable to automatically provide future security
# updates. Instead, Certbot will print and log an error message with a path to
# the up-to-date file that you will need to refer to when manually updating
# this file.

ssl_session_cache shared:le_nginx_SSL:10m;
ssl_session_timeout 1440m;
ssl_session_tickets off;

ssl_protocols TLSv1.2 TLSv1.3;
ssl_prefer_server_ciphers off;

ssl_ciphers "ECDHE-ECDSA-AES128-GCM-SHA256:ECDHE-RSA-AES128-GCM-SHA256:ECDHE-ECDSA-AES256-GCM-SHA384:ECDHE-RSA-AES256-GCM-SHA384:ECDHE-ECDSA-CHACHA20-POLY1305:ECDHE-RSA-CHACHA20-POLY1305:DHE-RSA-AES128-GCM-SHA256:DHE-RSA-AES256-GCM-SHA384";
Configuring Nginx Server
Now, let’s cd into our Nginx sites-available directory
cd /etc/nginx/sites-available
Now, we need to open our configuration file. I am using the default server block as my configuration.
sudo vi /etc/nginx/sites-available/default
Inside the server block, we need to add a few lines:
server {
...

listen [::]:443 ssl ipv6only=on;
listen 443 ssl;
ssl_certificate <FULLCHAIN_PEM_PATH>;
ssl_certificate_key <PRIVKEY_PEM_PATH>;
include /etc/letsencrypt/options-ssl-nginx.conf;
}
Voila! You have successfully configured Let’s Encrypt Wildcard SSL Certificate on Nginx using Certbot.
Footnotes:
The process is similar for other providers, provided the provider is supported by Certbot. Here is the list of supported providers.
I was a Windows user until very recently, when I decided to switch to some Linux distribution as my daily driver. I chose Zorin OS 16 Pro, primarily because – (1) it is based on Ubuntu, which I have been using on my Raspberry Pi 4 for a while (2) it comes with pre-installed apps (which saved me a couple of hours). The only reason I reluctant to switch because Linux does not support Adobe CC out of the box and it does not support Logitech Options.
MX Master 3 is one of my prized possessions, it is very close to my heart. It is one of the finest mice that I’ve ever had, and it feels really nice. Although I do not use all the MX Master 3 buttons and gestures, I still wanted to be able to configure SmartShift and DPI. Fortunately, LogiOps functions more or less like Logitech Options, albeit all on command line.
Installing LogiOps
Fire your terminal (of course) install dependencies
This configuration will set the DPI to 1500 and SmartShift sensitivity to 15.
Key Bindings and Actions
Button
Action
Performs
Mode Shift Button
Press
Switch between Ratchet and Free Scroll mode
Mode Shift Button
Hold + Swipe Up
Increase the DPI by 1000
Mode Shift Button
Hold + Swipe Down
Decrease the DPI by 1000
Gesture Button
Press
Activities Overview
Gesture Button
Hold + Swipe Right
Snap the window to right
Gesture Button
Hold + Swipe Left
Snap the window to left
Gesture Button
Hold + Swipe Down
Minimize the window
Gesture Button
Hold + Swipe Up
Maximize the window
Back Button
Press
Go Back
Forward Button
Press
Go Forward
Forward Button
Hold + Swipe Up
Play/Pause Media
Forward Button
Hold + Swipe Down
Super/Windows Key
Forward Button
Hold + Swipe Right
Next Song
Forward Button
Hold + Swipe Left
Previous Song
Configurations
Logitech MX Master 3 Keys (Source – Magnetic Mag
For more information on configuration, you may refer to this wiki. To learn more about the Linux Event Codes, like KEY_LEFTMETA, check out this link.
Conclusion
There are two things that won’t work with this logid.cfg:
The thumb scroll wheel (useful for switching between tabs)
Scroll press (I personally use it to emulate Ctrl + B in VS Code)
It would be nice to have Logitech Options on Linux since the product information shows that it is ‘compatible’ with Linux, Windows, and Mac. Logitech Options lets you choose app-specific settings which is something that I miss very much, but while developers at Logitech work on Logitech Options for Linux (hoping that they are) LogiOps is the best tool we have to configure most of its functionality.
Issue ‘Forward/Back Button Not Working in VSCode’:
If your Logiop configuration is not working in VSCode, please follow these steps:
Open your logid.cfg file (it will be located at /etc/logid.cfg if you have followed my tutorial).
Navigate to the desired section (forward button and back button have cid: 0x56; and cid: 0x53; respectively).
Change the ‘type’ from Gesture to Keypress.
Bind desired keys to it (for event codes, look here).
Open VSCode and go to Keyboard Shortcuts (Ctrl + K Ctrl + S).
Bind your favourite action to the keys.
For example, if I want to bind Toggle Tabs to Back Button, I will change:
You can achieve the same using VSCode Key Bindings, as suggested by Vladimir:
Using the VSCode Settings (UI), find the “Go Back” action in the ‘Shortcuts’ settings
Click on “Add Keybinding”
Click the ‘back’ button on the mouse
Repeat the steps for the ‘forward’ button
Snap minimize or maximize window below cursor:
The default snap behaviour controls only the active window, i.e., the window which is selected (clicked upon). This may not be ideal since one has to activate the window before operating on it. Thanks to pLum0 ([email protected]), we can make a script using xdotool to fix this.
In case you are facing issues with horizontal scroll (thumb scroll), you may try this fix by Joren Miner ([email protected]). Place the snippet below on the same level as “smartshift” or “hiresscroll”: